In the quest for a comfortable and energy-efficient home, many homeowners overlook a simple yet effective solution: UV window film. This innovative product not only enhances your living space but also provides a range of benefits that can improve your home’s overall environment. In this guide, we’ll explore everything you need to know about UV window film, including its benefits, installation process, and how it can transform your home.
What Is UV Window Film?
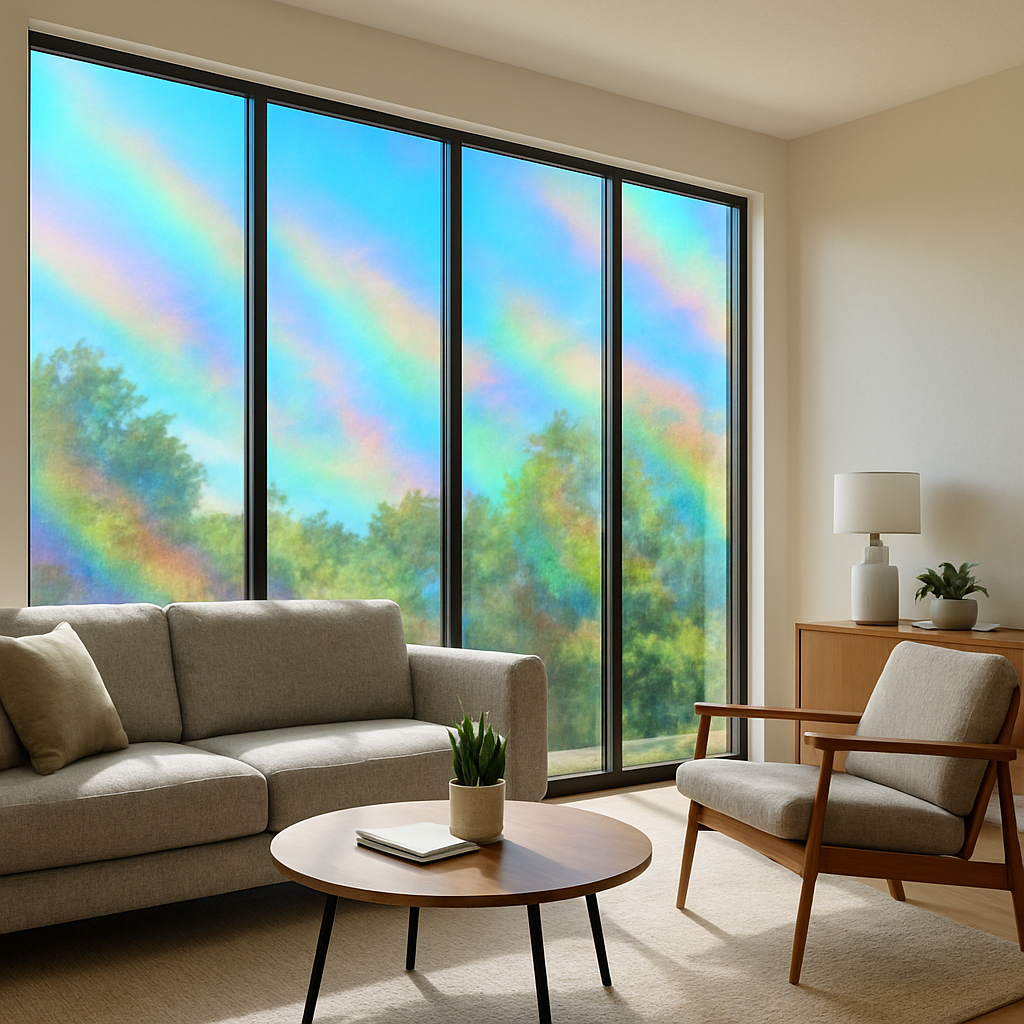
UV window film is a thin layer of material that is applied to the interior surface of your windows. This film is designed to block ultraviolet (UV) rays, which are harmful components of sunlight. According to the U.S. Environmental Protection Agency, prolonged exposure to UV radiation can lead to skin damage and other health concerns. In addition to blocking UV rays, some window films also offer privacy, reduce glare, and enhance the aesthetic appeal of your home.
Types of Window Films
There are several types of window films available, each with its own unique features:
- UV Light Window Film: Specifically designed to block harmful UV rays, protecting your furnishings and interiors from fading.
- Privacy Window Film: Offers an added layer of privacy by obscuring the view into your home without sacrificing natural light.
- Decorative Window Film: Enhances the aesthetic appeal of your windows with patterns or frosted designs.
- Security Window Film: Provides extra protection by holding shattered glass together in case of breakage.
Benefits of UV Window Film
Protection from Harmful UV Rays
One of the primary benefits of window films is its ability to block up to 99% of harmful UV rays. This protection is crucial as UV rays can cause significant damage to your skin and fade your interior furnishings, flooring, and artwork.
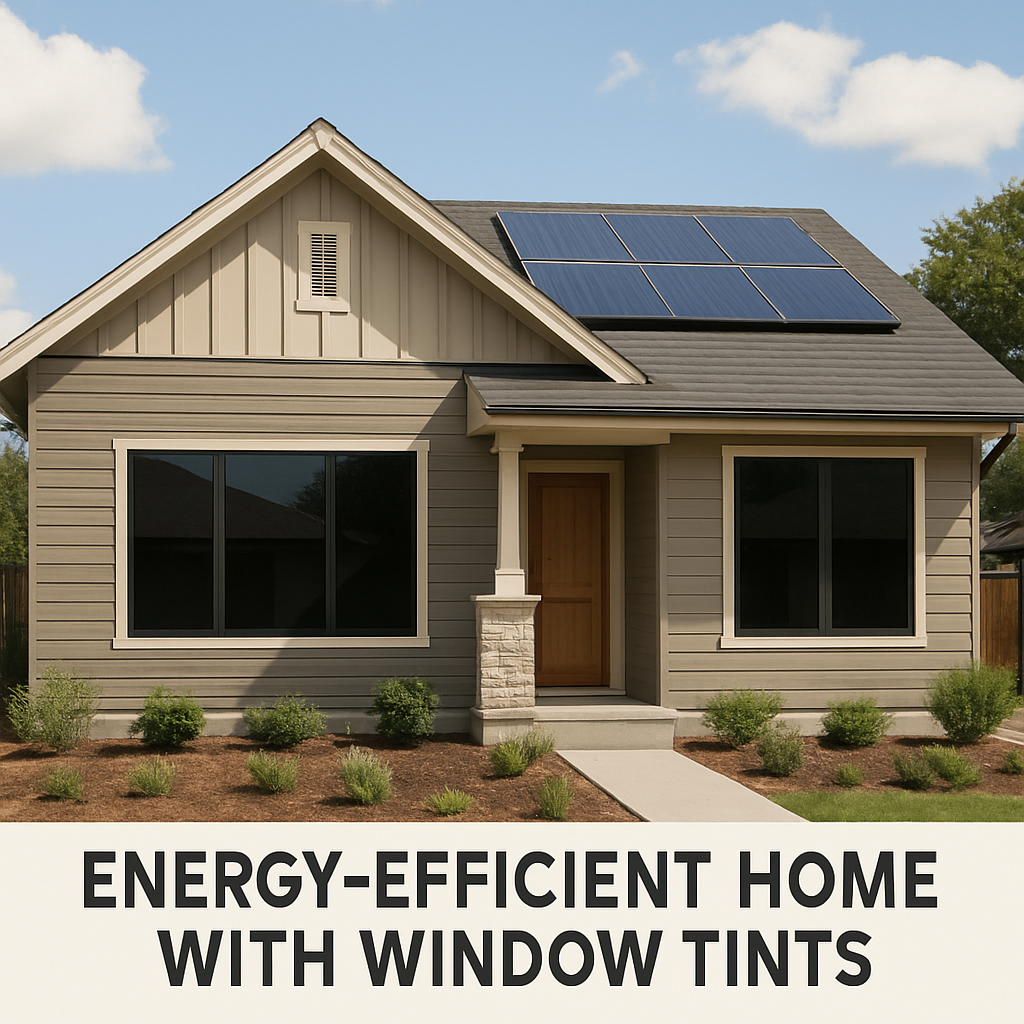
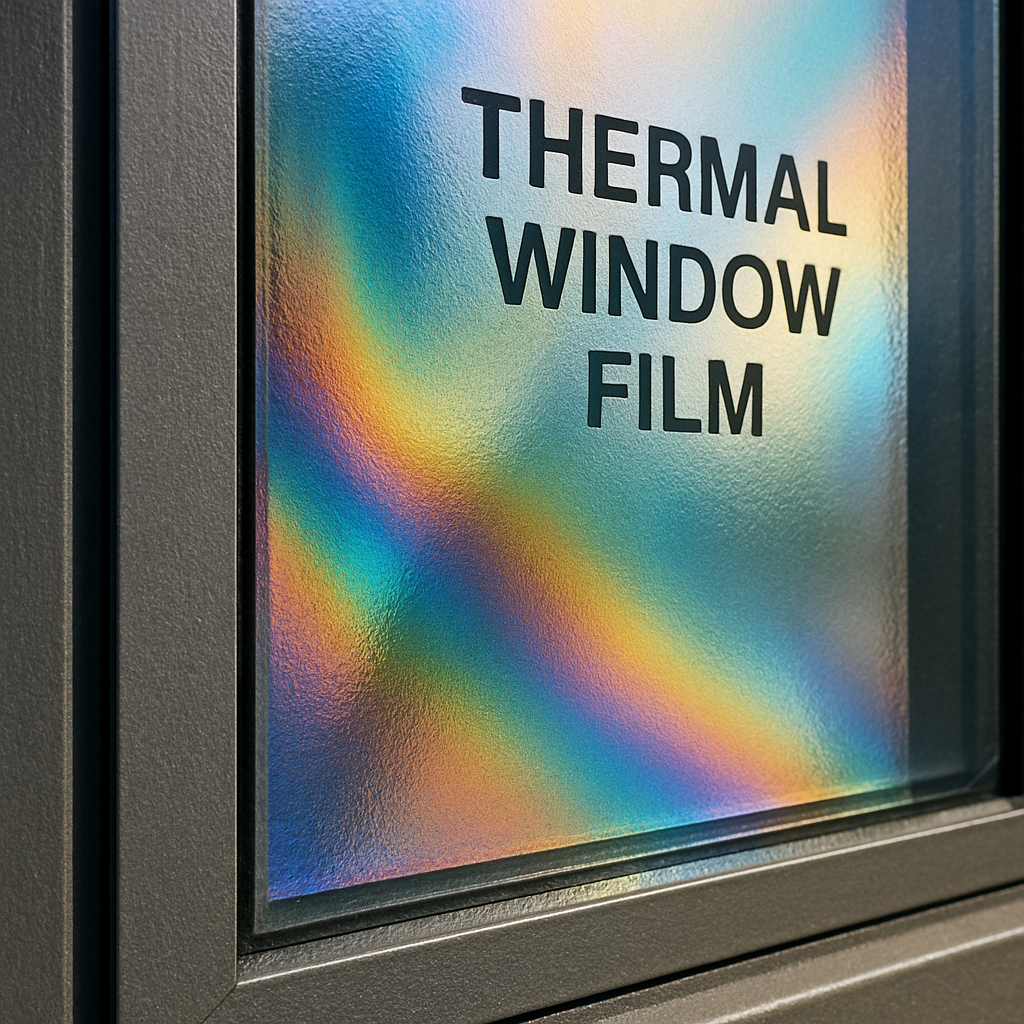
Energy Efficiency and Cost Savings
UV window film can significantly improve your home’s energy efficiency. By blocking heat from the sun, the film helps regulate indoor temperatures, reducing the need for air conditioning during the hot months. This can lead to lower energy bills and a reduced carbon footprint. The U.S. Department of Energy notes that heat gain and loss through windows are responsible for a significant percentage of residential heating and cooling energy use.
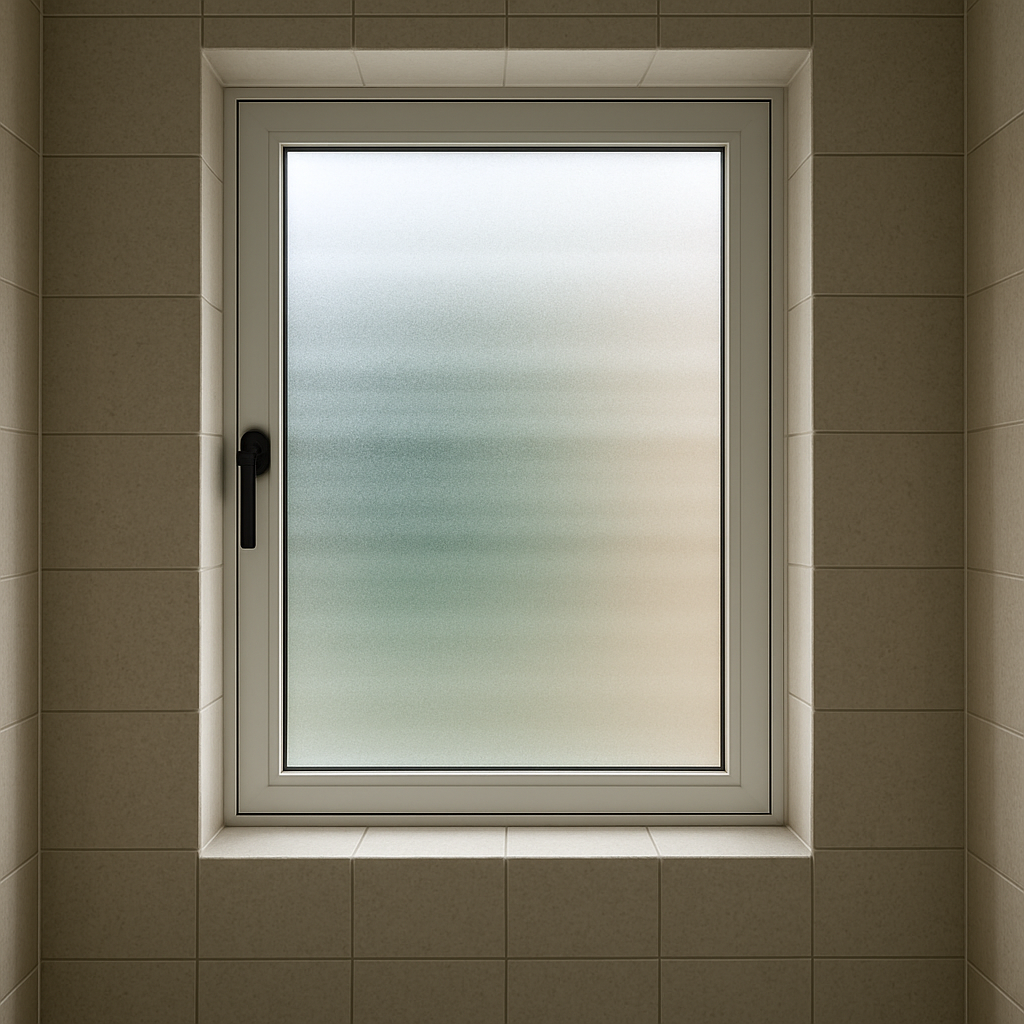
Enhanced Privacy
For homeowners seeking more privacy without compromising on natural light, privacy window film is an excellent choice. It allows light to enter while preventing outsiders from seeing into your home, making it ideal for ground-floor windows or spaces like bathrooms and offices.
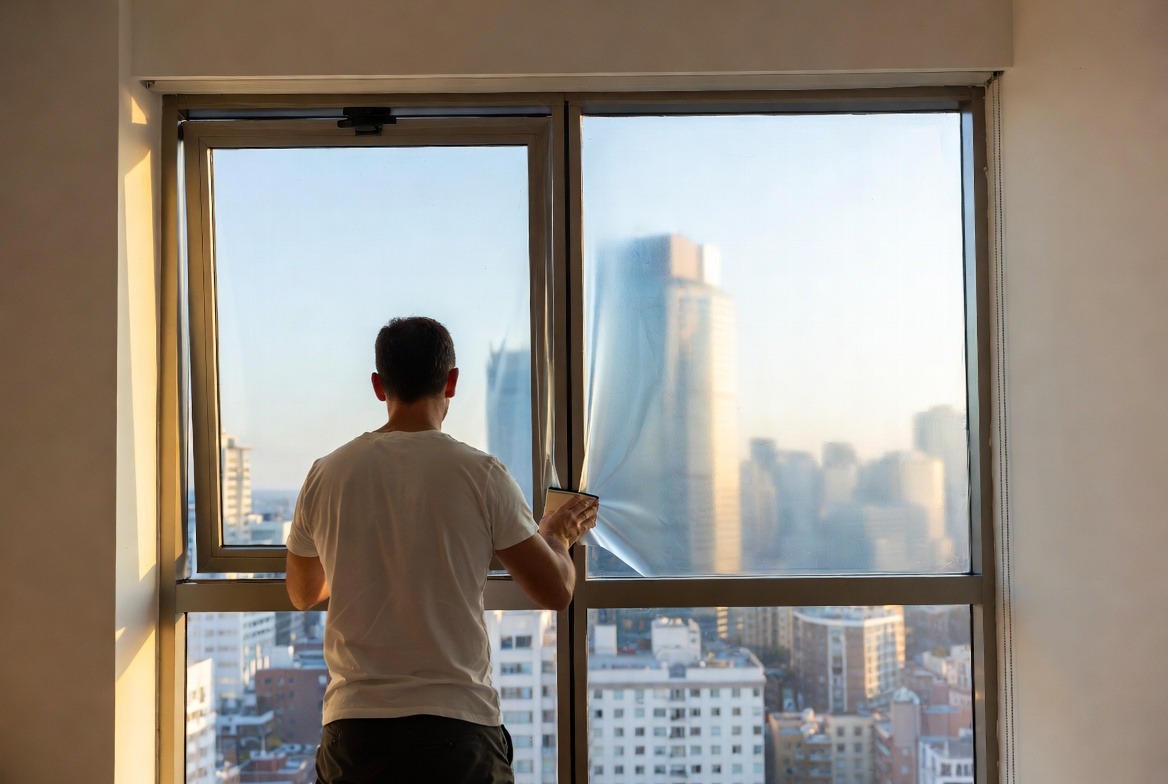
Glare Reduction
Excessive glare from sunlight can be a nuisance, especially when watching TV or working on a computer. UV window film reduces glare, providing a more comfortable and functional living environment.

Improved Aesthetic Appeal
With decorative films, you can enhance the look of your windows and add a touch of style to your home. Whether you prefer a frosted look or intricate patterns, decorative window film offers endless design possibilities.
Installation Process
DIY vs. Professional Installation
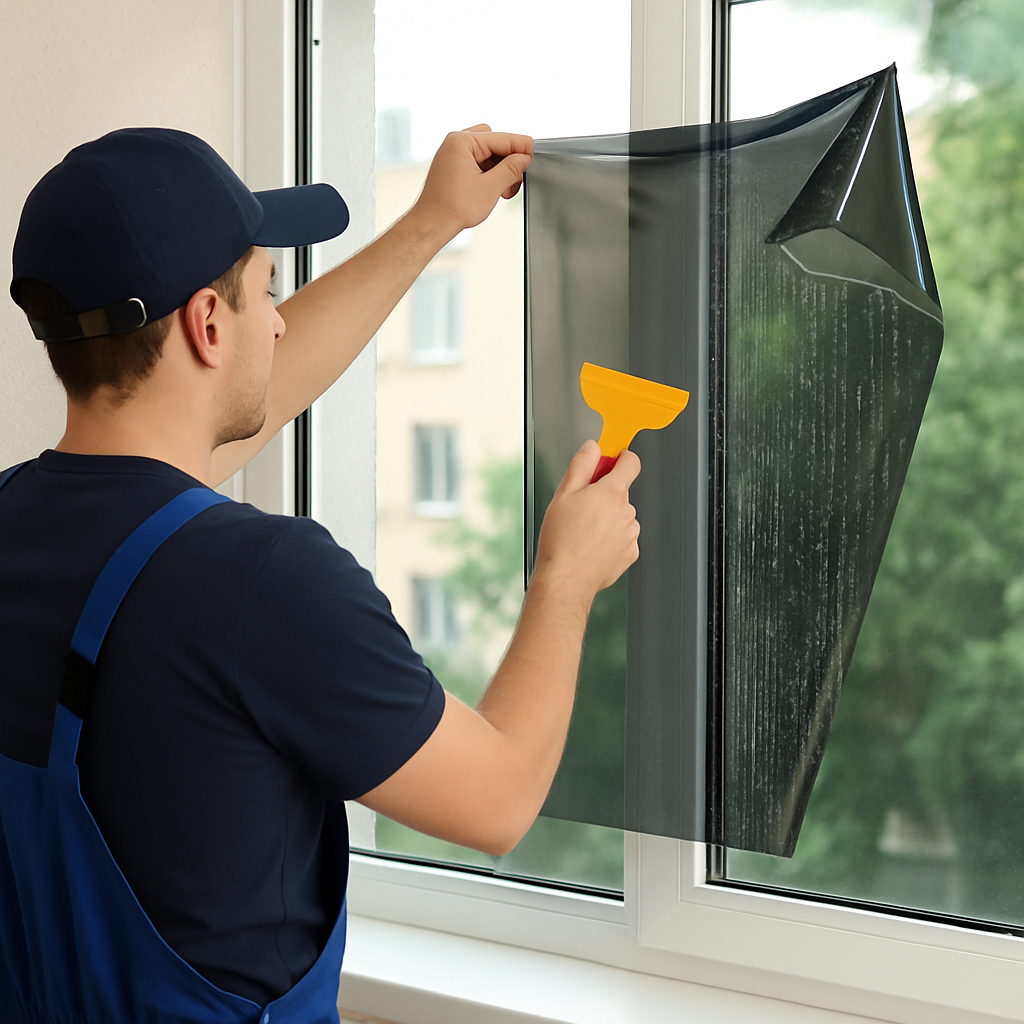
While some homeowners may choose to install window film themselves, professional installation is recommended for the best results. Professionals ensure that the film is applied smoothly and without bubbles, guaranteeing a perfect finish.
Steps for Installation
- Cleaning the Windows: The first step is thoroughly cleaning the windows to remove any dirt or debris that could affect the film’s adhesion.
- Measuring and Cutting the Film: The film is measured and cut to fit the exact dimensions of your windows.
- Applying the Film: The film is carefully applied to the window surface, starting at the top and smoothing downwards to prevent air bubbles.
- Trimming Excess Film: Once applied, any excess film is trimmed away for a neat finish.
- Final Touches: The film is smoothed out with a squeegee to ensure proper adhesion and remove any remaining bubbles.
Choosing the Right Window Film for Your Home
When selecting window film, consider your specific needs and preferences. Here are some factors to keep in mind:
- Purpose: Determine whether you need UV protection, privacy, decorative features, or security.
- Window Orientation: South-facing windows may benefit more from UV and heat-blocking films.
- Aesthetic Preferences: Choose a film that complements your home’s style and décor.
Maintenance and Care
UV window film requires minimal maintenance. To keep it looking its best, clean the film with a soft, damp cloth and avoid using harsh chemicals or abrasive materials that could damage the film.
Common Misconceptions About Window Film
“Window Film Will Make My Home Dark”
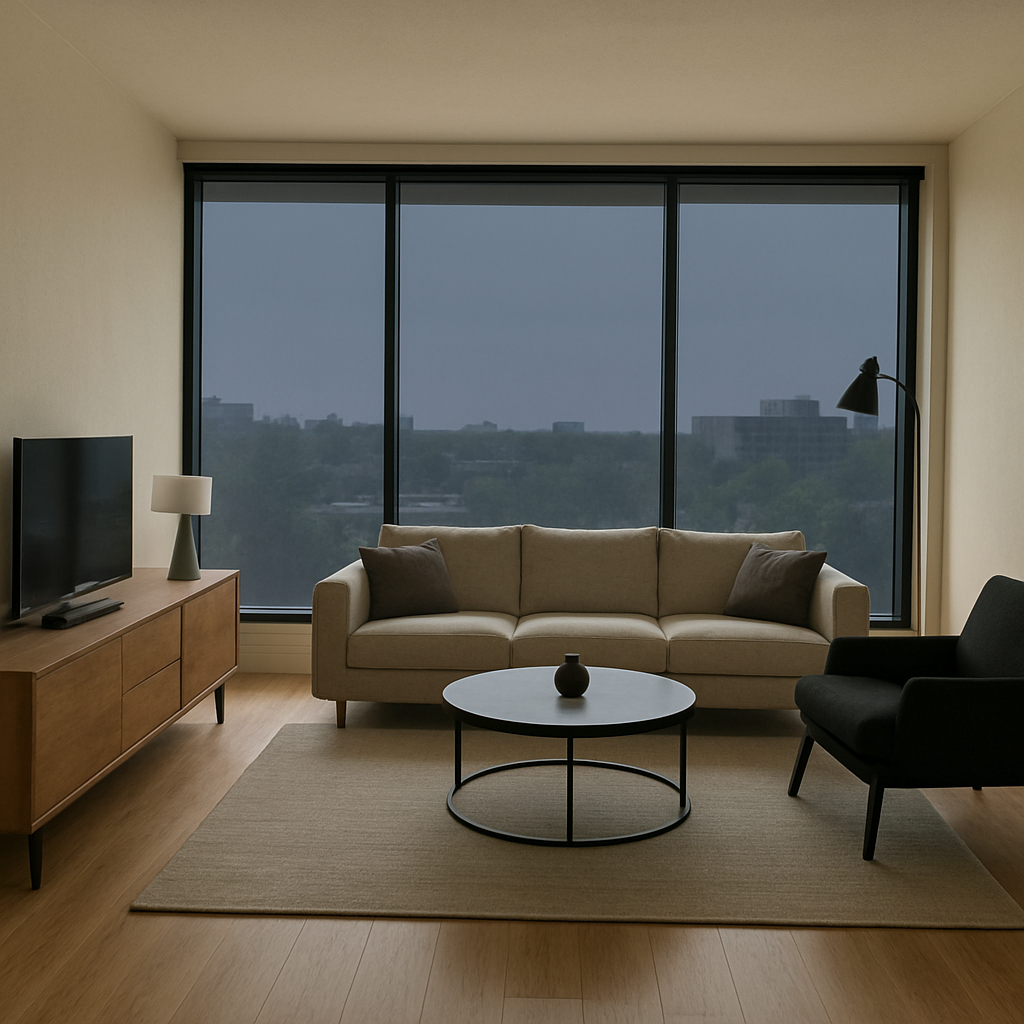
One common concern is that window film will significantly reduce the amount of natural light entering your home. However, modern window films are designed to let in plenty of light while blocking harmful rays, ensuring your home remains bright and welcoming.
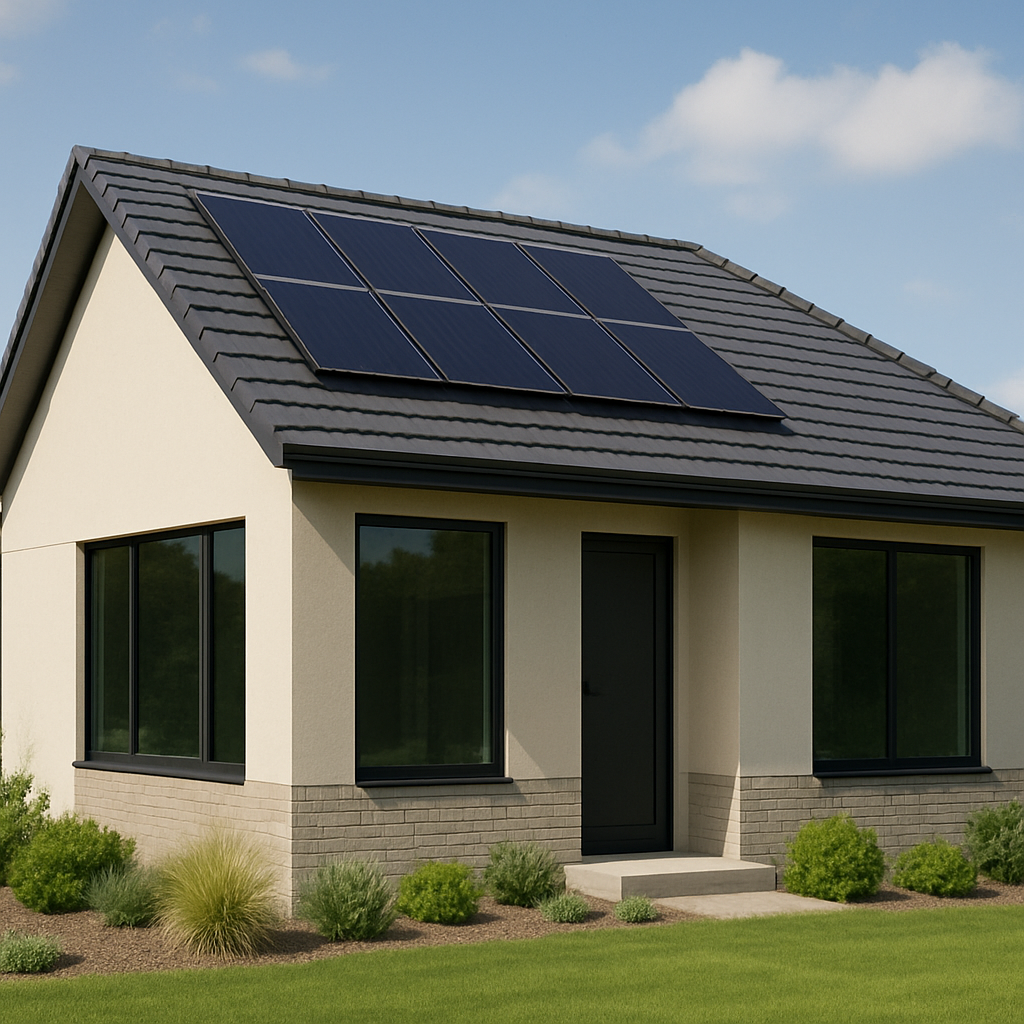
“Window Film Is Only for Hot Climates”
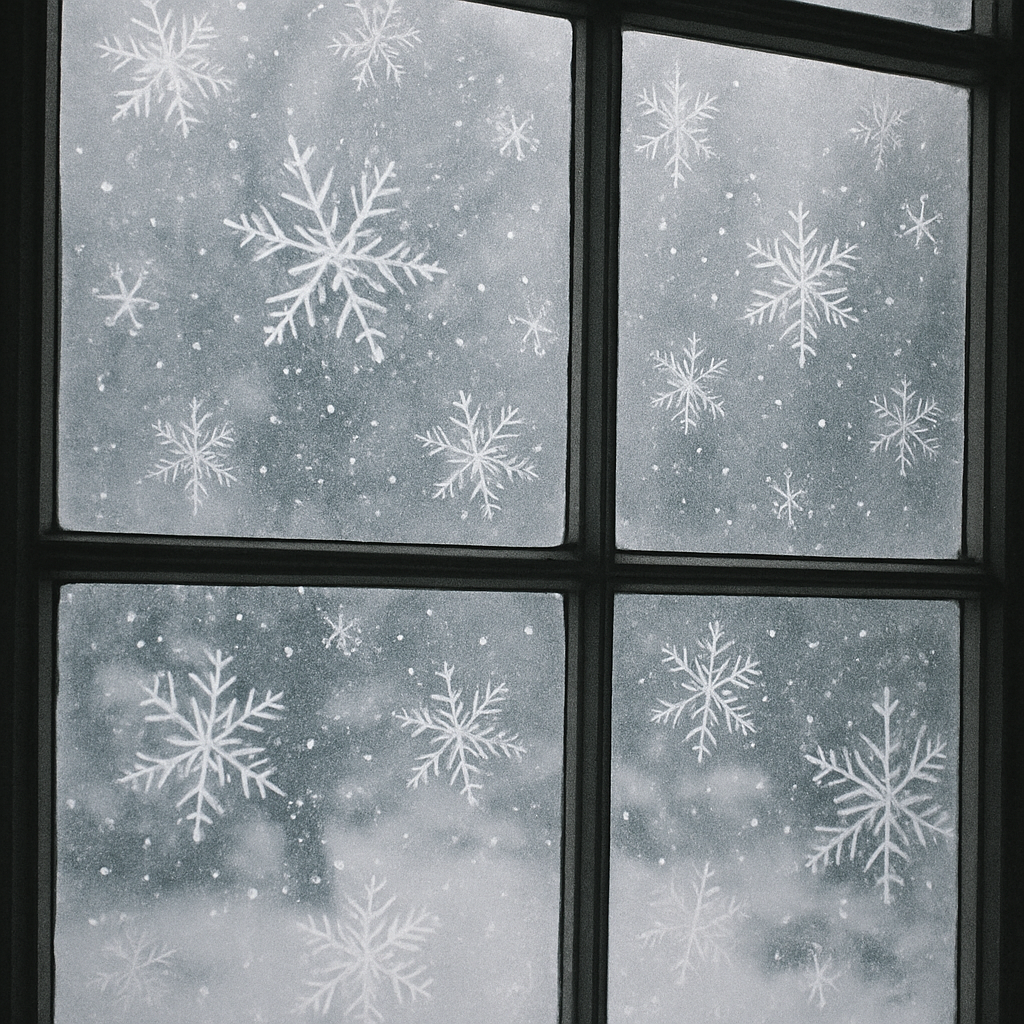
While window film is beneficial in hot climates due to its heat-blocking properties, it is also effective in cooler regions. By reducing heat loss through windows, window film can help maintain warmth during the winter months.

by Klara Kulikova (https://unsplash.com/@kkalerry)
Conclusion
UV window film is a versatile and cost-effective solution for homeowners looking to enhance their living spaces. From protecting your interiors to improving energy efficiency, the benefits of window film are numerous. By understanding your options and selecting the right film for your needs, you can transform your home into a more comfortable, stylish, and energy-efficient environment. Whether you’re an interior designer seeking eco-friendly solutions or a homeowner looking to reduce energy bills, UV window film is a smart investment in the future of your home.