In an era where home safety and energy efficiency are top priorities, installing safety film for windows is a smart and effective solution. Not only does it enhance security, but it also adds a layer of protection against harmful UV rays. This guide provides a detailed walkthrough on how to effectively install window security film in your home.
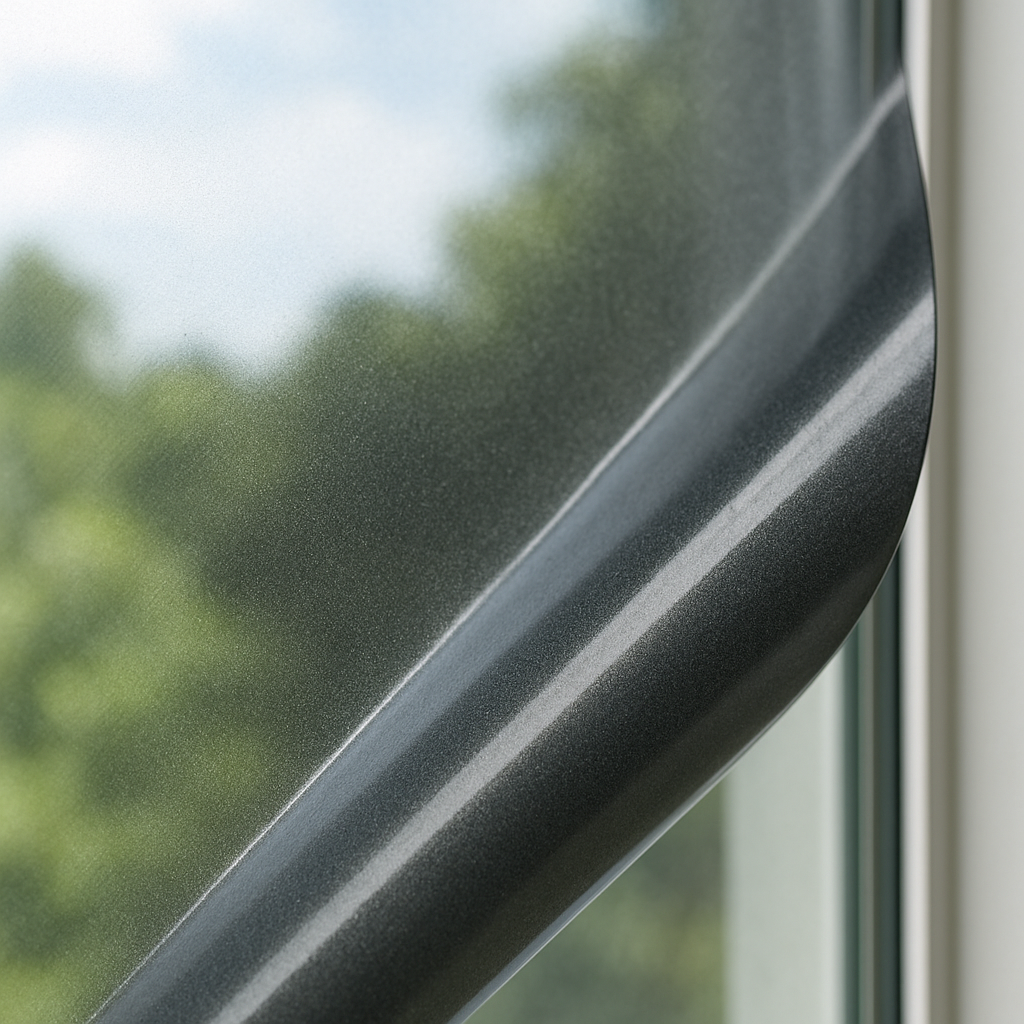
Safety film, often referred to as window security film, is a transparent layer applied to glass surfaces. It is designed to hold glass fragments in place if shattered, thus enhancing window protection. Additionally, it helps in reducing glare and filtering harmful UV rays, contributing to energy efficiency. According to the U.S. Department of Energy, window films and treatments can significantly improve insulation and reduce heat loss, making them an effective energy-saving solution.
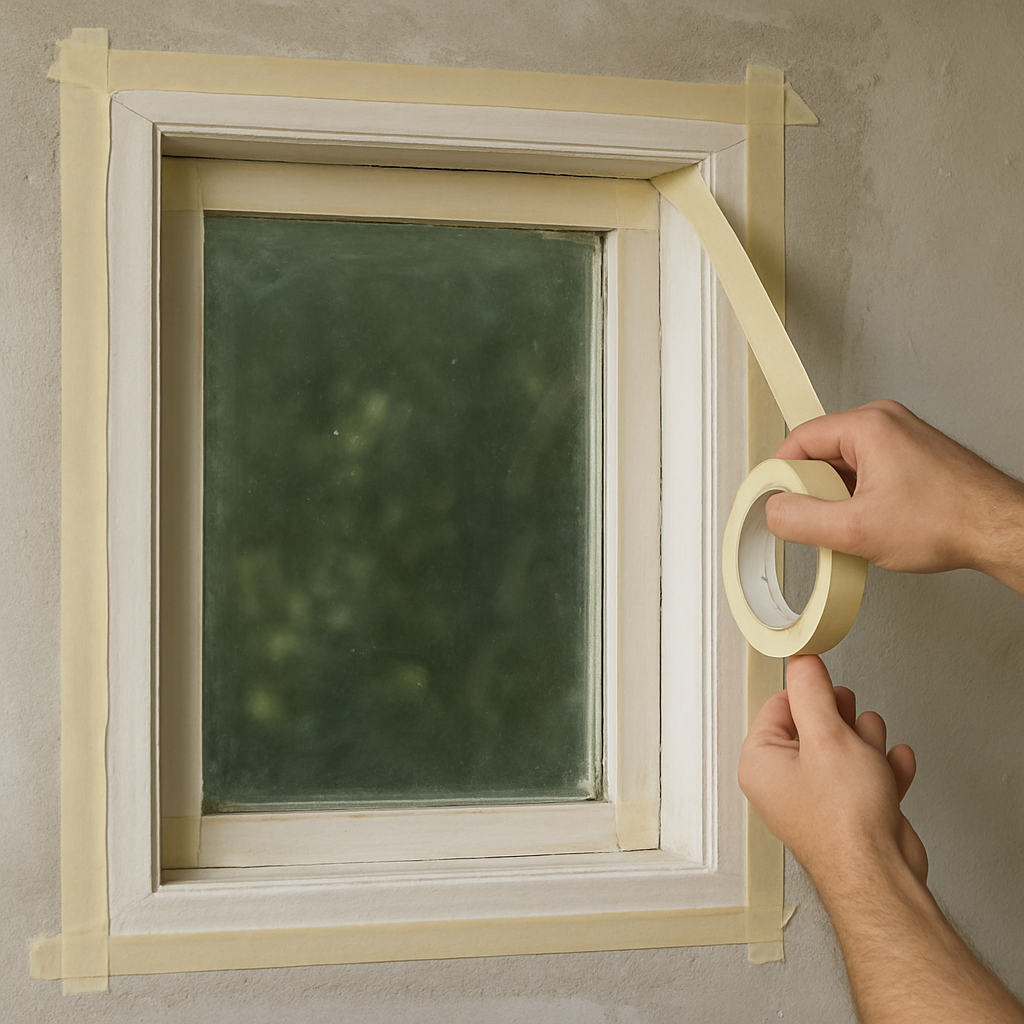
Before diving into the installation process, gather all necessary tools: a spray bottle filled with soapy water, a squeegee, a sharp utility knife, a ruler, and a clean cloth. Ensure that the window surface is thoroughly cleaned and free of dust and grime. This step is crucial for a smooth application. Proper surface preparation is also recommended by the Environmental Protection Agency (EPA) to maintain indoor environmental quality and performance of applied materials.
Step-by-Step Installation Process
Step 1: Measure and Cut the Film
Begin by measuring the dimensions of your window. Cut the safety film slightly larger than the window size. This extra margin will allow for precise adjustments during installation.
Step 2: Apply the Soapy Water Solution
Spray a generous amount of the soapy water solution onto the window surface. This solution acts as a lubricant, allowing you to easily position the film.
Step 3: Position the Film
Carefully peel off the protective backing from the film. Align the film with the top edge of the window, ensuring it extends slightly beyond the window frame. Gently press the film onto the wet surface.
Step 4: Secure the Film
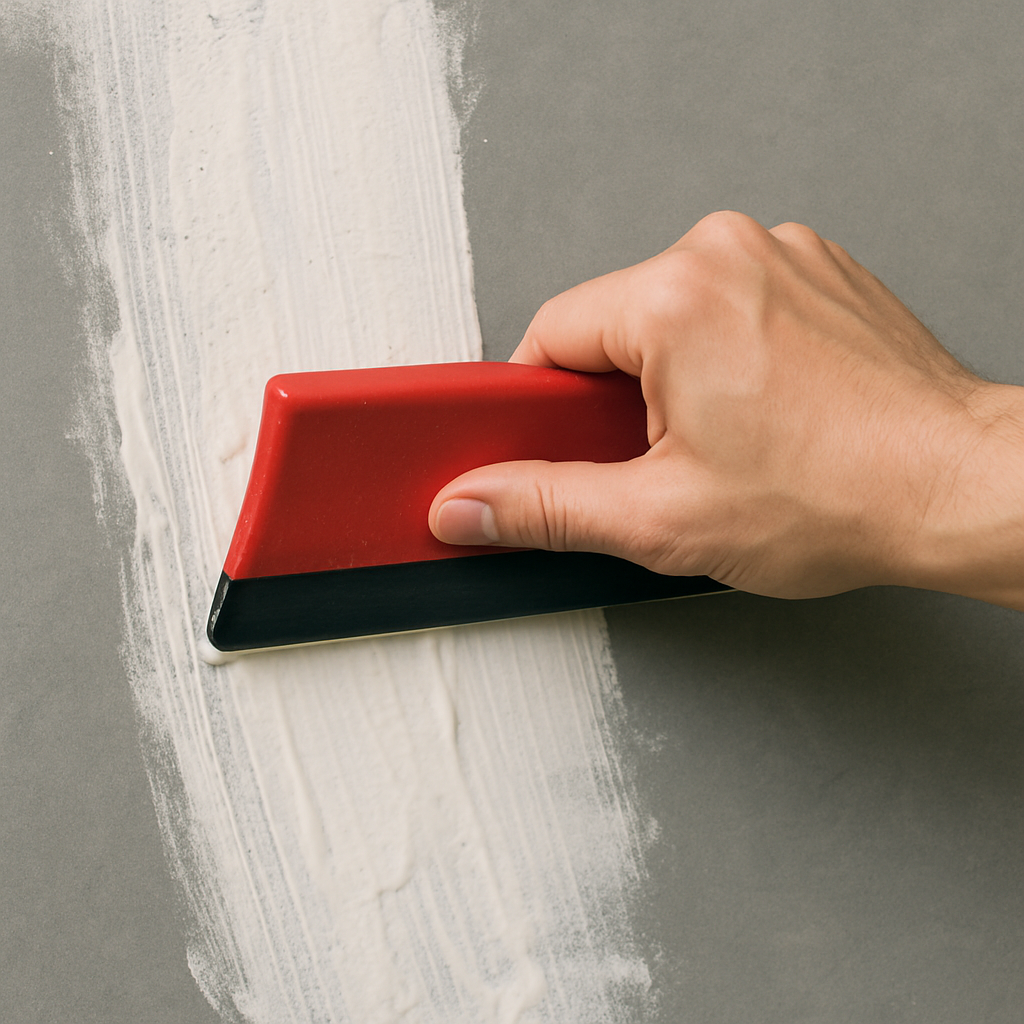
Using the squeegee, start from the center and work your way outwards to remove air bubbles and excess water. This will ensure a tight bond between the film and the glass.
Step 5: Trim the Excess
Once the film is securely in place, use a utility knife to trim the excess around the edges. Be cautious to avoid cutting into the window frame.
Step 6: Final Inspection
Inspect the installation for any remaining air bubbles or imperfections. Use the squeegee to smooth out any areas as needed. Allow the film to cure for at least 24 hours.
Benefits of Window Protection Film
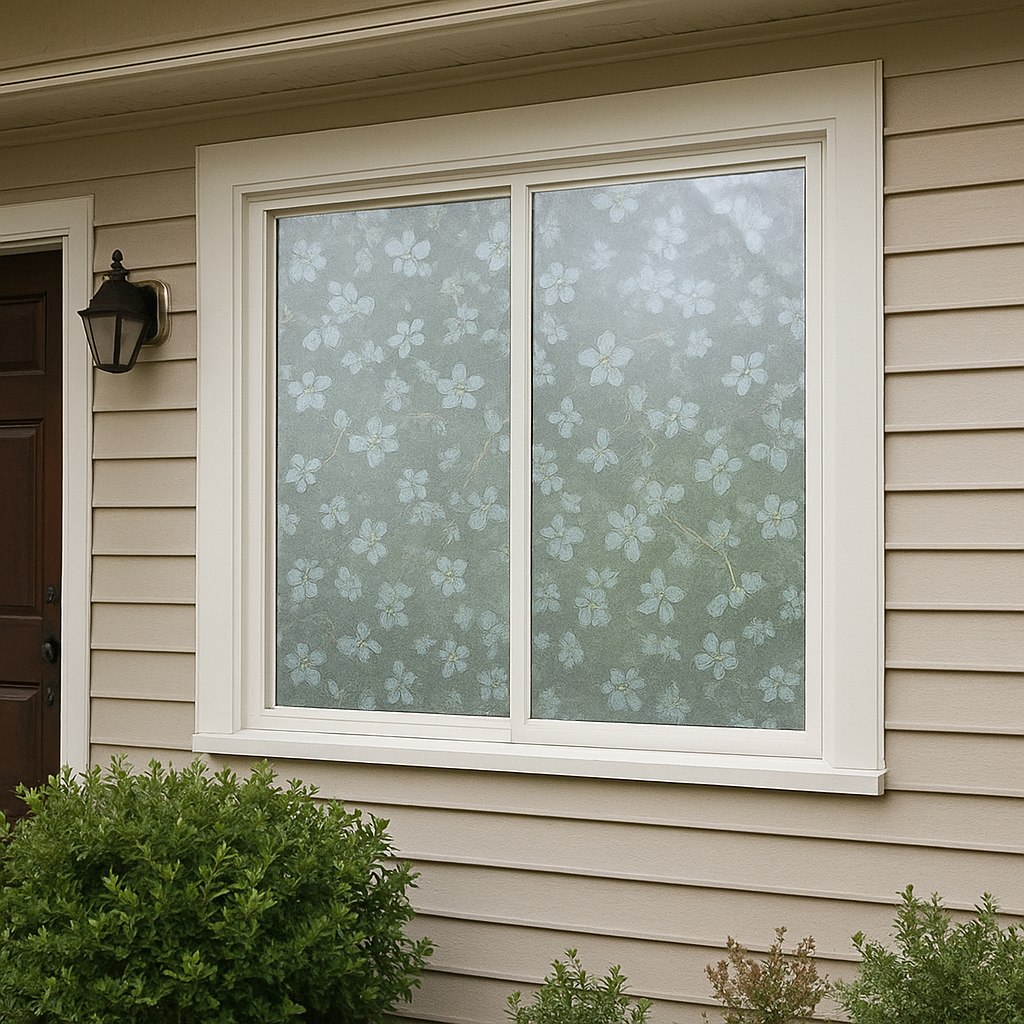
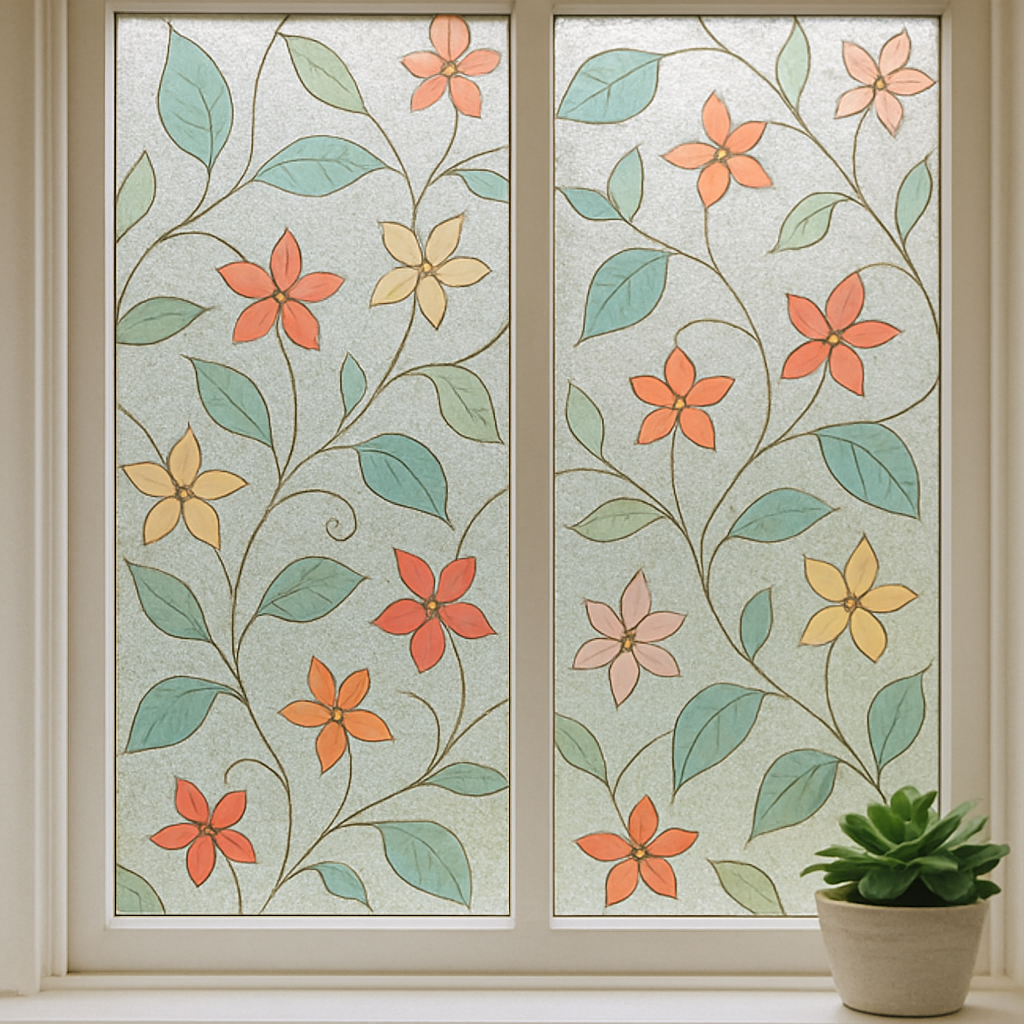
Installing safety film for windows not only boosts security but also offers additional benefits. It enhances privacy without compromising natural light, reduces energy costs by minimizing heat transfer, and protects interiors from UV damage.
By following this step-by-step guide, you can achieve a professional-looking installation that enhances both the safety and aesthetic appeal of your home. If you have any questions or need further assistance, feel free to reach out in the comments below. Your home’s safety and efficiency are just a film away.