Applying window tint film is a practical and stylish solution for enhancing your living space. Whether you’re aiming to reduce glare, increase privacy, or improve energy efficiency, window tinting can meet these needs effectively. This guide will walk you through the process of applying window tint film, ensuring a professional finish without the professional price tag.
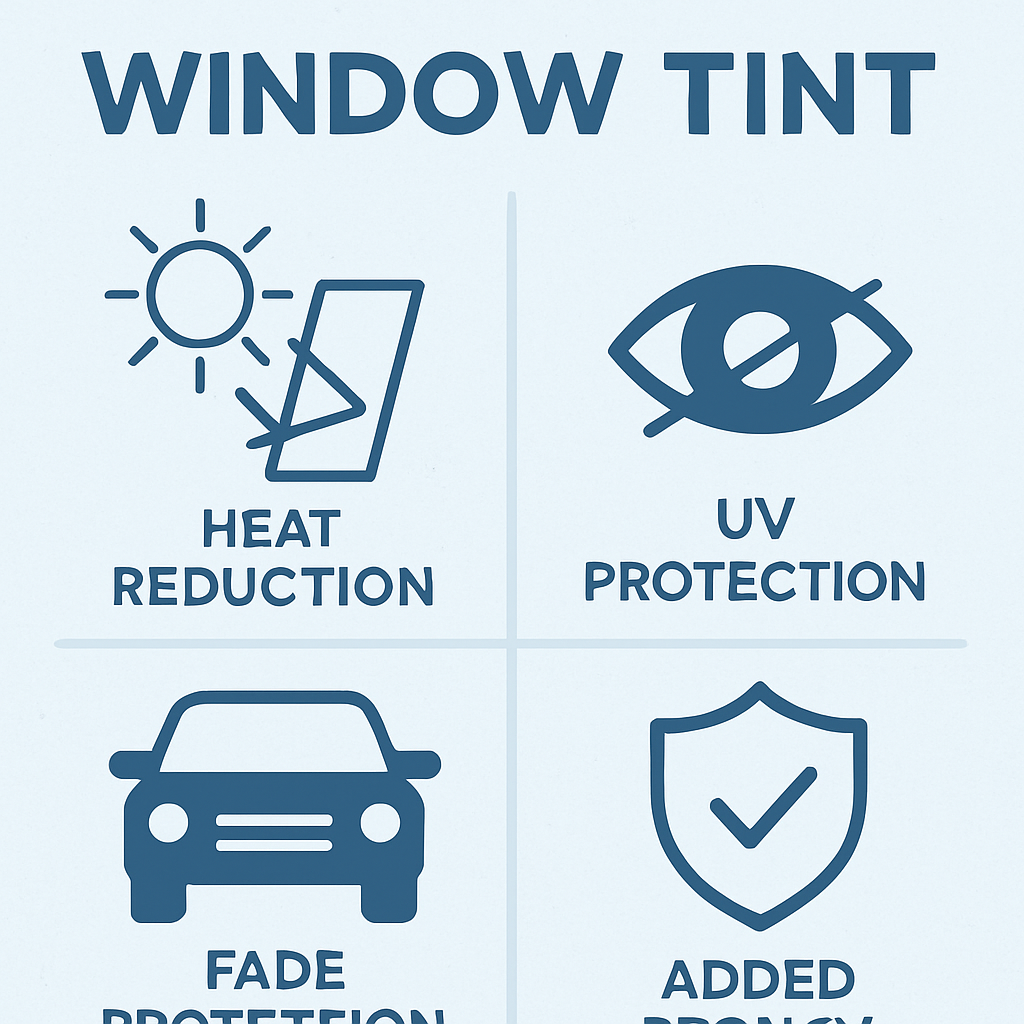
Window tint film offers several advantages that make it a popular choice for homeowners and interior designers alike.
Energy Efficiency
By blocking a significant amount of solar heat, window tinting reduces the need for air conditioning during the warmer months, thereby lowering energy bills. According to the U.S. Department of Energy, window treatments that reduce heat gain can significantly improve indoor energy efficiency.
UV Protection
Tinted windows block up to 99% of harmful ultraviolet rays, protecting your furniture, flooring, and other interior elements from fading. The Environmental Protection Agency (EPA) confirms that limiting UV exposure is essential for protecting both skin and interior materials.
Enhanced Privacy and Security
Tint films provide an extra layer of privacy by making it difficult for outsiders to see inside during the day. They also offer an added measure of security by holding glass together if it breaks.
Improved Aesthetics
Tinted windows can enhance the overall look of your home, giving it a sleek and modern appearance.
Tools and Materials Needed
Before you start the application process, gather the following tools and materials:
- Window tint film (pre-cut to the size of your windows)
- Spray bottle filled with a mixture of soap and water
- Squeegee
- Utility knife
- Lint-free cloth or paper towels
- Measuring tape
- Straight edge or ruler
Step-by-Step Application Process
Step 1: Measure and Cut the Film
Begin by measuring the dimensions of the window you wish to tint. It’s crucial to measure both the height and width accurately. Once measured, roll out the window tint film on a clean surface and use a utility knife to cut the film slightly larger than the window itself. This excess will be trimmed off later for a perfect fit.
Step 2: Clean the Window
A clean surface is vital for a successful application. Use a lint-free cloth and the soap-water solution to thoroughly clean the window, ensuring all dust, grease, and debris are removed. Pay special attention to the corners and edges, as any residue can cause bubbles or peeling later.
Step 3: Wet the Window
Spray the window generously with the soap-water solution. This step is crucial as it allows you to slide the film into the correct position and helps prevent the film from sticking prematurely.
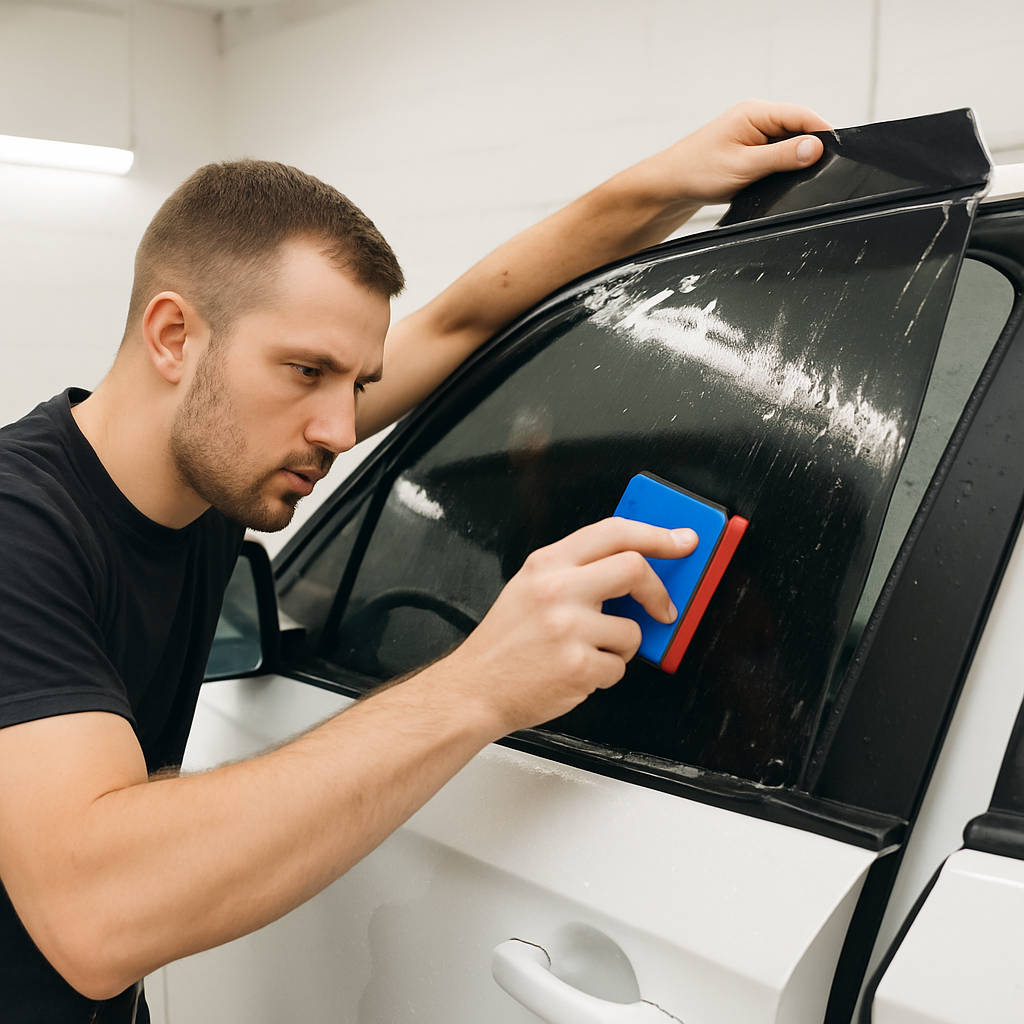
Step 4: Apply the Tint Film
Peel the backing off the tint film, revealing the adhesive side. Carefully place the film onto the wet window, starting from the top and working your way down. The soap-water solution will help you reposition the film as needed.
Step 5: Squeegee the Film
Once the film is in place, use a squeegee to remove any air bubbles and excess water. Start from the center and work your way towards the edges, applying firm and even pressure. Take your time during this step to ensure a smooth, bubble-free finish.
Step 6: Trim the Excess Film
With the film securely in place, use a utility knife and a straight edge to trim away any excess film along the edges of the window. This will give you a clean and professional look.
Step 7: Final Inspection and Drying
Inspect the film for any remaining bubbles or imperfections. Use the squeegee to address these areas if necessary. Allow the film to dry for at least 24 hours before cleaning or touching the surface.
Tips for Success

- Work in a Dust-Free Environment: Any dust particles trapped between the film and the window can cause bubbles.
- Avoid Direct Sunlight: Apply the film in a shaded area to prevent the solution from drying too quickly.
- Take Your Time: Rushing through the process can lead to mistakes. Ensure each step is completed thoroughly for the best results.
Common Mistakes to Avoid
- Improper Cleaning: Ensure the window is completely free of dirt and debris before application.
- Incorrect Measurements: Double-check your measurements before cutting the film.
- Ignoring Bubbles: Address any bubbles immediately with a squeegee to prevent them from becoming permanent.
The Final Verdict
Window tint film application is a cost-effective way to enhance the appearance and functionality of your windows. With the right tools and a careful approach, you can achieve professional results without the need for a professional installer. Whether you’re an interior designer looking to offer stylish solutions or a homeowner seeking to improve energy efficiency, window tinting is a versatile and valuable addition to any space.
Incorporating window tinting into your home improvement projects not only elevates the aesthetic appeal of a space but also provides practical benefits that align with modern living needs. By following this step-by-step guide, you can confidently apply window tint film and enjoy the myriad benefits it brings to your home.