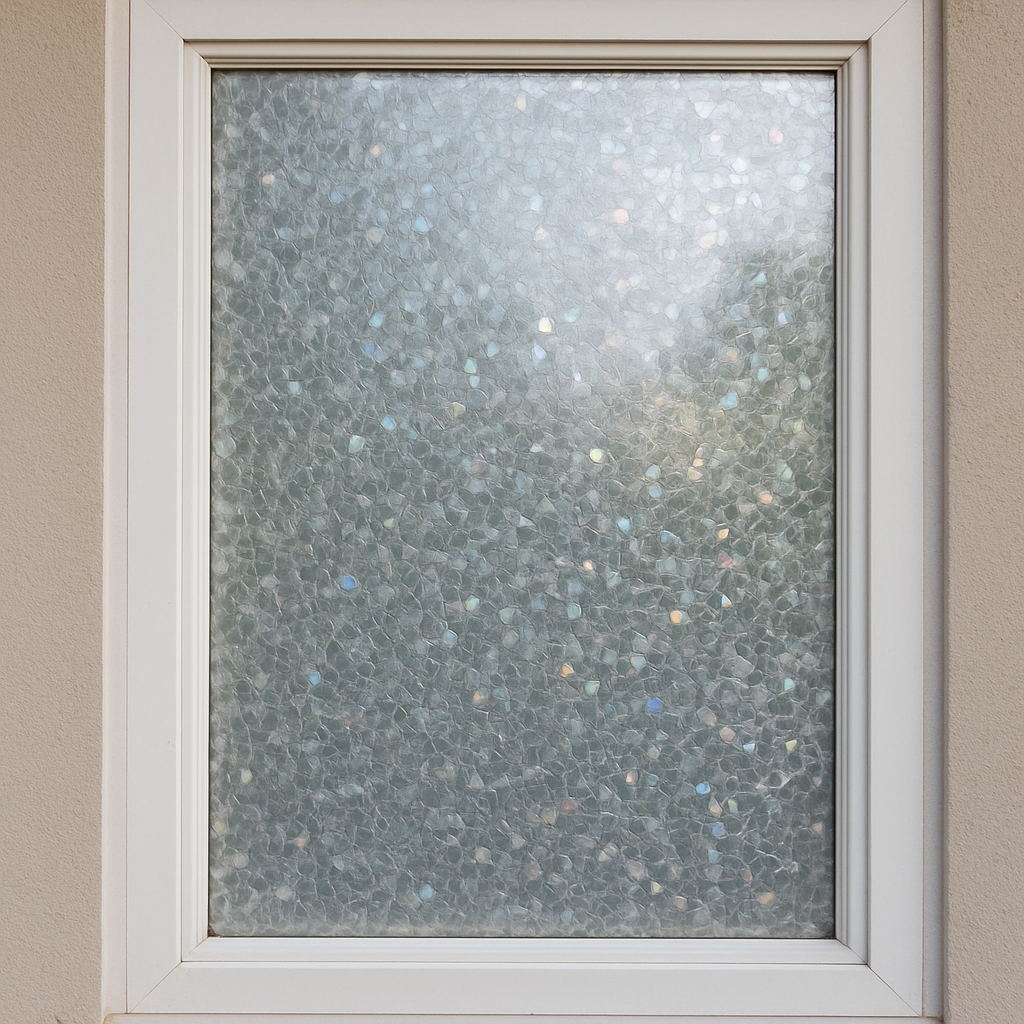
Maintaining the pristine look of your window films is essential to enhance the beauty and functionality of your living spaces. High-quality window films, like those offered by 3M, not only elevate the aesthetic appeal of your interiors but also provide energy efficiency and UV protection. However, to keep them looking their best, a little care and maintenance go a long way. In this guide, we will explore effective strategies for window film maintenance, ensuring they remain crystal clear and serve their purpose for years to come.
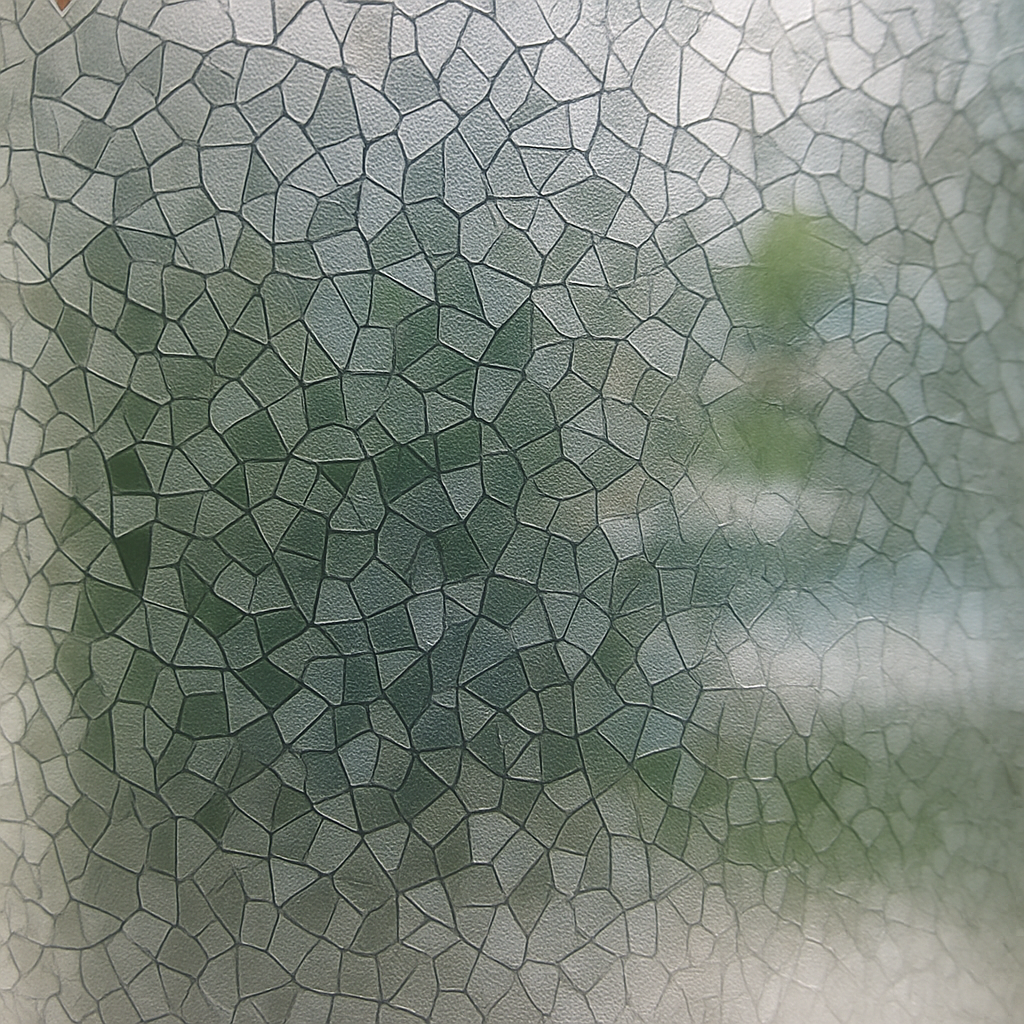
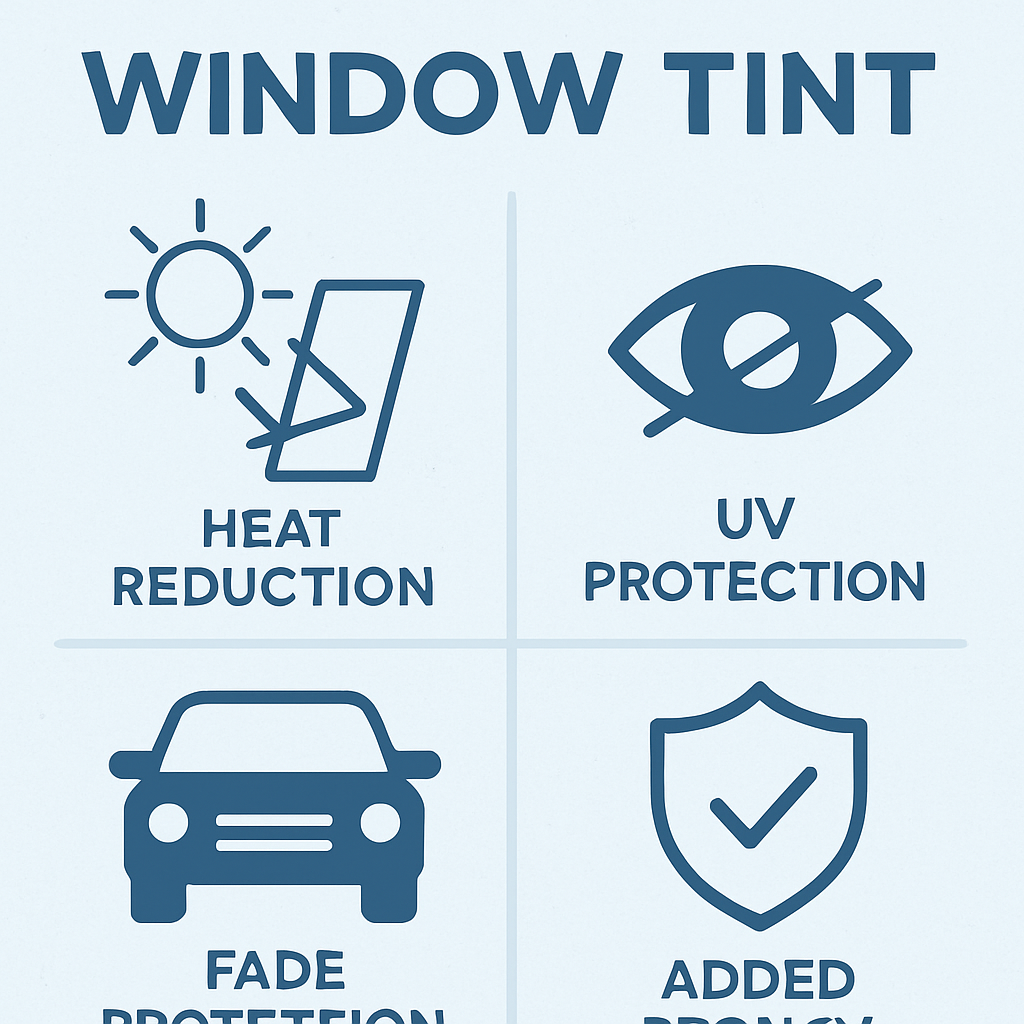
Window film acts as a shield against harmful UV rays and reduces glare while offering an extra layer of privacy. Over time, dust, smudges, and other environmental factors can affect their appearance and performance. According to the U.S. Environmental Protection Agency, limiting UV exposure is important for protecting both skin and interior furnishings. Regular maintenance ensures that your window films remain effective and visually appealing.
Benefits of Regular Maintenance
- Prolongs Lifespan: Proper care can significantly extend the life of your window film, saving you money on replacements.
- Maintains Clarity: Regular cleaning prevents the accumulation of dirt and grime, ensuring your view remains unobstructed.
- Preserves Energy Efficiency: Clean window films continue to reflect heat effectively, contributing to reduced energy bills. The U.S. Department of Energy notes that efficient window solutions can play a major role in lowering household energy use.
Best Practices for Cleaning Window Films
Cleaning window films requires a gentle touch to avoid scratching or damaging the film. Here are some best practices to follow:
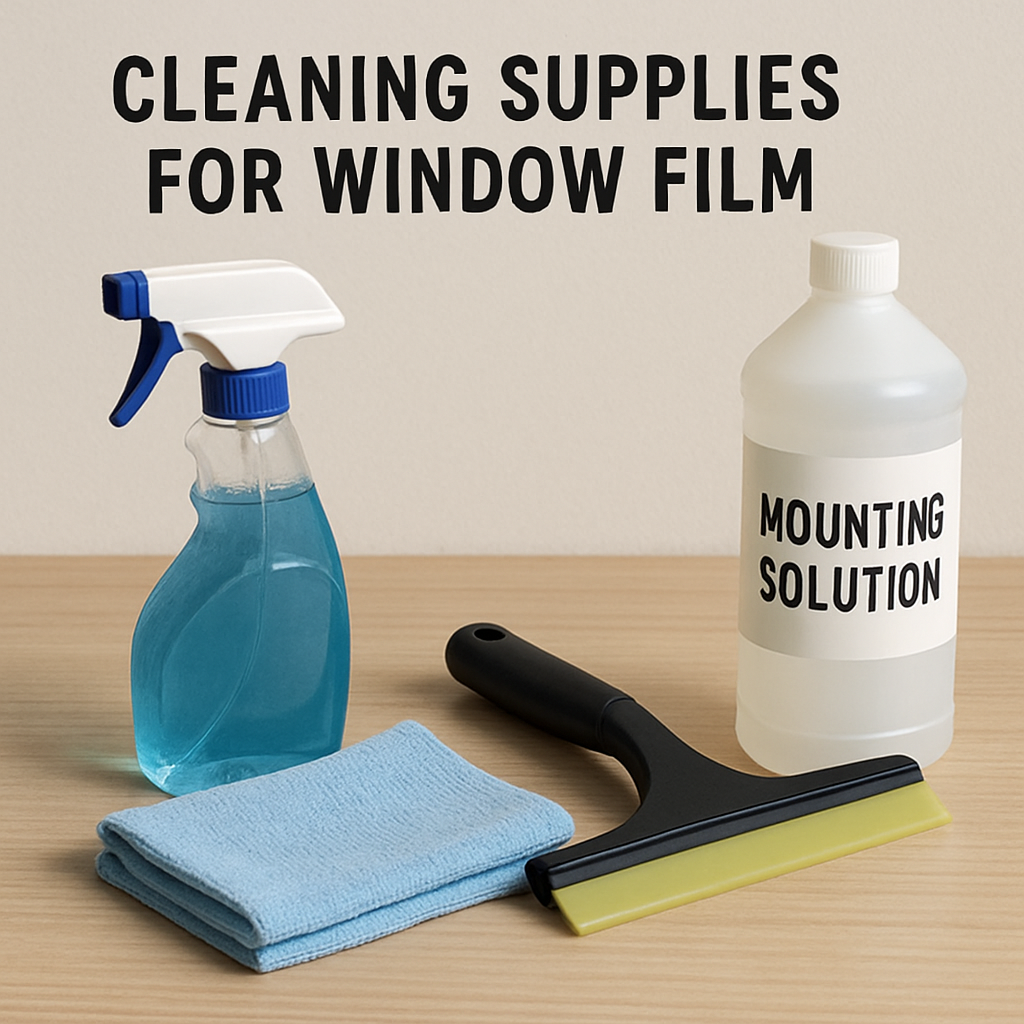
Use the Right Cleaning Solutions
When it comes to cleaning window films, not all solutions are created equal. Avoid using ammonia-based products as they can damage the film. Instead, opt for a mild, non-abrasive cleaner or a mixture of water and dish soap.
Gentle Cleaning Tools
Use a soft cloth or a microfiber towel to clean the film. Harsh materials like steel wool or rough sponges can scratch the surface. A squeegee can also be used to remove excess water and prevent streaks.
Step-by-Step Cleaning Process
- Dust First: Use a dry cloth or duster to remove surface dust.
- Prepare the Solution: Mix a few drops of dish soap with water in a spray bottle.
- Spray the Film: Lightly spray the solution onto the window film.
- Wipe Gently: Use a soft cloth to wipe the film in a circular motion.
- Dry Completely: Use a squeegee or a dry microfiber cloth to remove any excess solution and prevent water spots.
Protecting Window Films from Damage

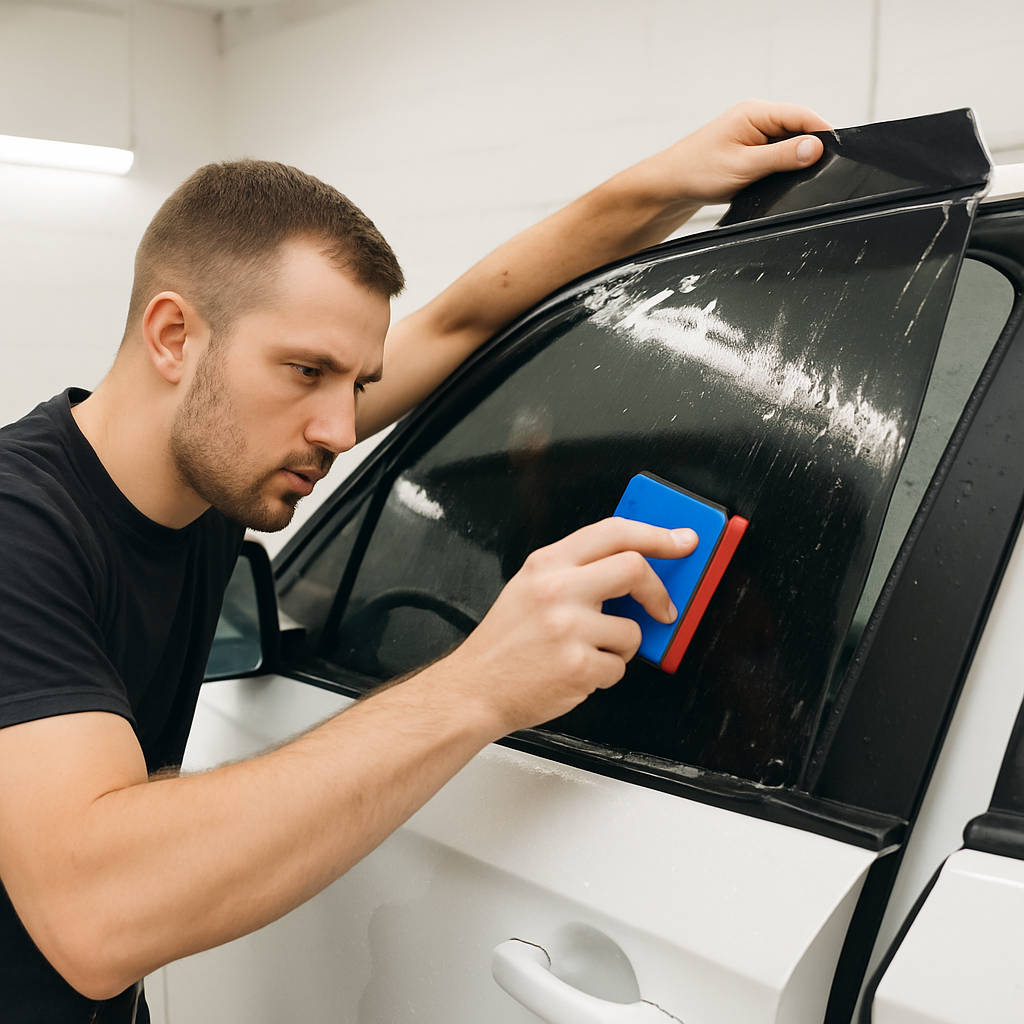
by Lhar Capili (https://unsplash.com/@lhardeleon)
While cleaning is crucial, protecting your window films from potential damage is equally important. Here are some tips to ensure your films remain intact:
Avoid Direct Contact
Keep sharp objects and abrasive materials away from the film. This includes pets’ claws, furniture edges, and any tools that might scratch the surface.
Manage Indoor Temperature
Excessive heat can cause some window films to bubble or peel. Ensure that your indoor temperature is regulated, especially during extreme weather conditions. Using curtains or blinds can also help protect the film from direct sunlight.
Educate Household Members
Make sure everyone in the household is aware of the proper handling of window films. This includes not using harsh chemicals or scrubbing the film aggressively.
Common Issues and Solutions
Despite your best efforts, issues may arise. Here’s how to address some common problems:
Film Peeling
Peeling can occur due to improper installation or exposure to extreme conditions. If you notice peeling, consider reapplying the film or consulting a professional for repairs.
Bubbling
Bubbles under the film often indicate trapped air or dust during installation. Small bubbles may disappear over time, but persistent bubbles may require a professional to reapply the film.
Scratches
Minor scratches can sometimes be buffed out with a soft cloth and a gentle cleaner. For deeper scratches, replacing the affected section may be necessary.
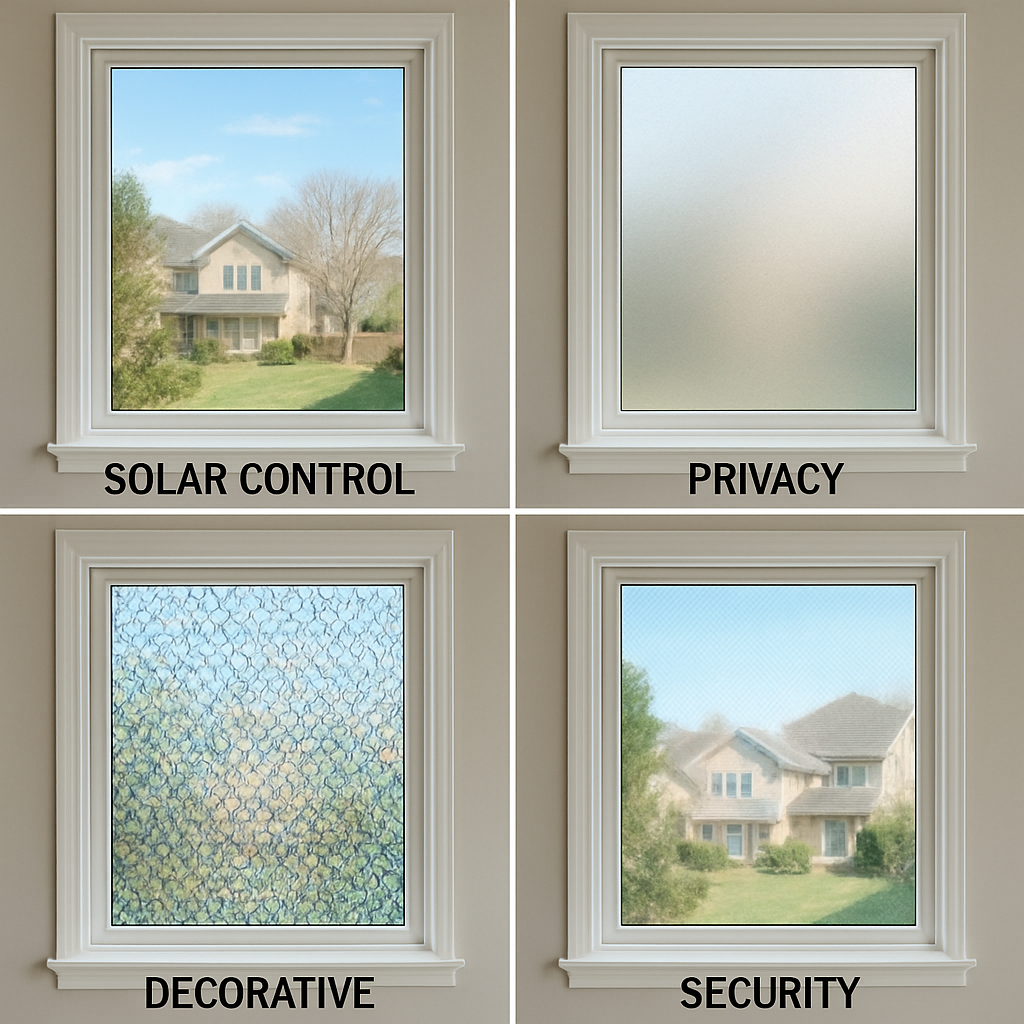
Choosing the Right Window Film
Selecting a high-quality window film is the first step towards easy maintenance and long-lasting performance. Brands like 3M offer films with advanced features such as UV protection, anti-glare, and energy efficiency. Investing in a reputable brand ensures you receive a product designed to withstand the test of time.
Considerations for Selection
- UV Protection: Choose films that block a high percentage of UV rays to protect your interiors from fading.
- Heat Rejection: Opt for films that offer excellent heat rejection to enhance energy efficiency.
- Aesthetic Appeal: Select films that complement your interior design and offer the desired level of privacy.
Conclusion
Maintaining your window films doesn’t have to be a daunting task. By following these simple cleaning and protection tips, you can keep your films looking crystal clear and performing at their best. Regular maintenance not only preserves the aesthetic and functional benefits of window films but also extends their lifespan, offering you more value for your investment.
Remember, whether you’re an interior designer seeking to enhance your client’s space or a homeowner looking to improve energy efficiency, the right care and maintenance of window films can make all the difference. With a little effort and the right products, your window films will continue to shine brightly, enhancing the beauty and comfort of your home.