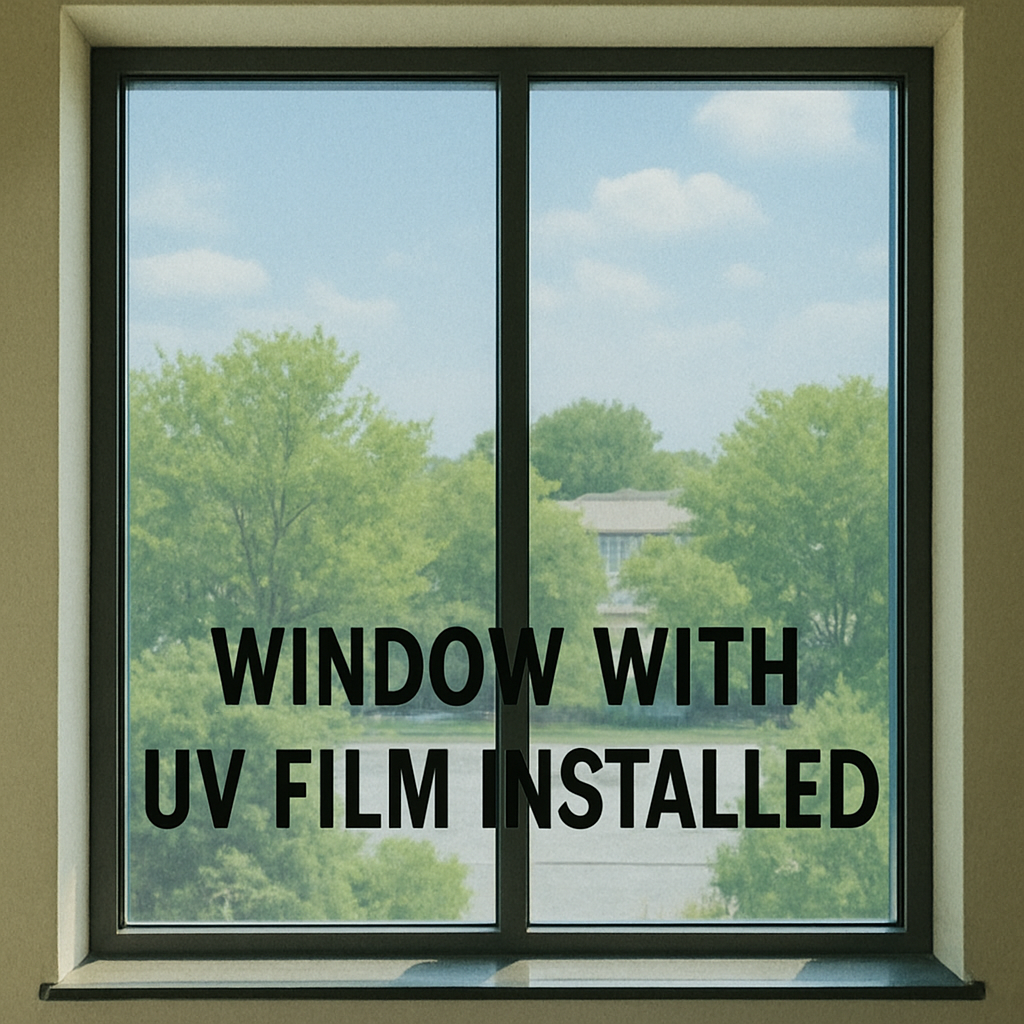
# Step-by-Step Guide to Using UV Window Film
Enhancing your home with UV window film is a straightforward and cost-effective way to improve energy efficiency, protect your interiors, and add a touch of style. As an interior designer, you can offer your clients a solution that not only complements their design aesthetic but also serves practical purposes. This guide will walk you through the process of installing UV window film, ensuring you can confidently offer this service to your clients. To better understand the window film advantages, it’s helpful to explore how modern films combine UV protection, comfort, and design flexibility.
What is UV Window Film?
UV window film is a thin, multi-layered material applied to window glass to block harmful ultraviolet rays. It serves multiple functions: reducing glare, enhancing privacy, and contributing to energy savings by keeping interiors cooler. Available in various styles and shades, window film can complement any interior design. According to the U.S. Department of Energy, window films can significantly reduce heat gain and improve overall home energy performance.
Benefits of UV Window Film
- Energy Efficiency: By blocking UV rays, window films help maintain a consistent indoor temperature, reducing the need for air conditioning and lowering energy bills.
- Protection: These films protect furniture, flooring, and artwork from fading by blocking up to 99% of UV rays. The U.S. Environmental Protection Agency (EPA) highlights how prolonged UV exposure contributes to material degradation and fading indoors.
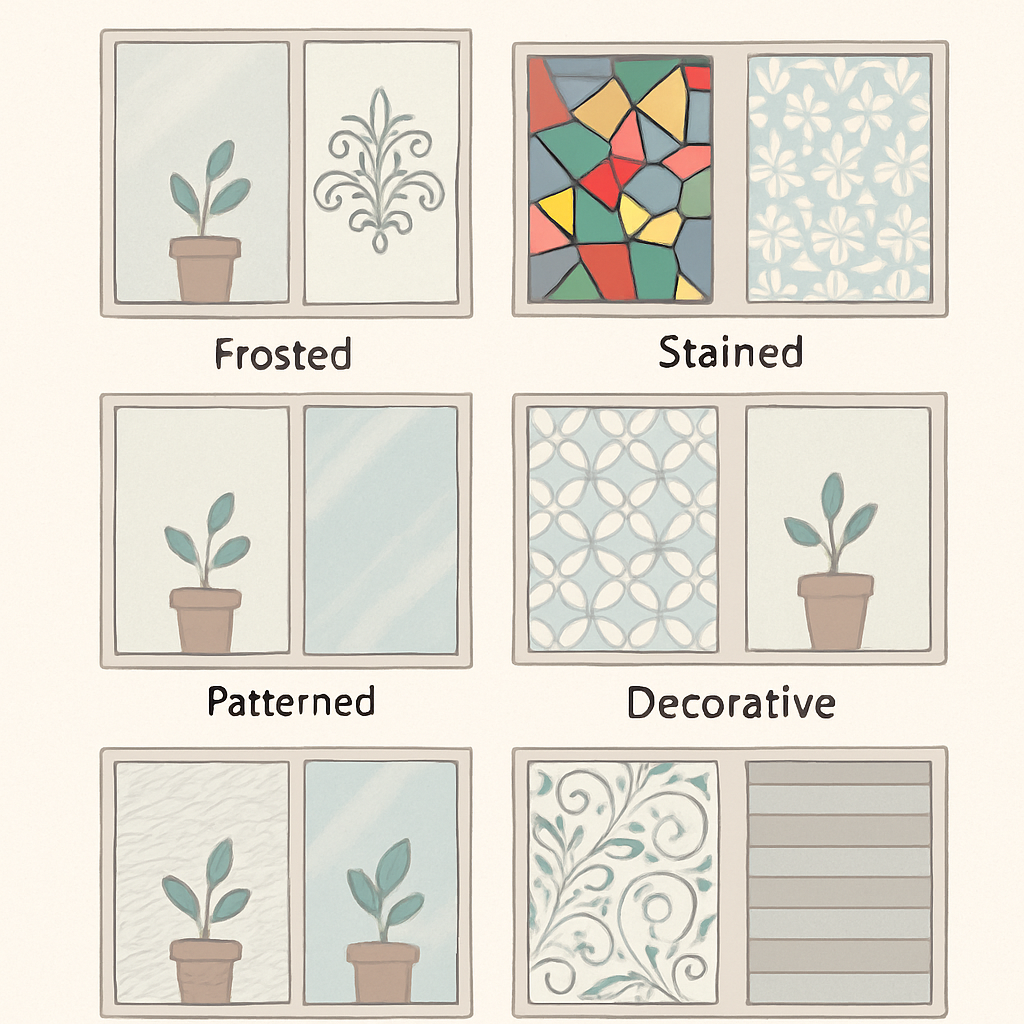
- Aesthetic Appeal: Available in different tints and patterns, window films add a stylish element to any room.
- Privacy and Security: Tinted films can prevent passersby from peering inside, while thicker films offer some level of shatter resistance.
Preparing for Installation
Before diving into the installation process, make sure you have all the necessary tools and materials. Here’s a checklist to get you started:
- UV window film of your choice
- Spray bottle filled with a solution of water and a few drops of baby shampoo or dish soap
- A utility knife or sharp cutter
- A squeegee or a similar flat tool
- Measuring tape
- Cleaning supplies: a glass cleaner and lint-free cloth
- A ruler or straight edge
Step 1: Measure Your Windows
Accurate measurements are crucial for a smooth installation process. Measure the height and width of each window pane you plan to cover. Add an extra inch to both dimensions to ensure the film covers the entire glass surface.
Step 2: Clean the Windows
Thoroughly clean the window glass with a glass cleaner and a lint-free cloth. Any dirt or debris left on the surface can cause bubbles and imperfections in the film.
Installing the UV Window Film
With your tools ready and windows cleaned, it’s time to install the film. Follow these steps to ensure a professional-looking application:
Step 3: Cut the Film
Using your measurements, cut the window film to size on a clean, flat surface. Remember to add an extra inch on all sides. A utility knife and a ruler will help ensure straight, even cuts.
Step 4: Wet the Window
Fill your spray bottle with the soap and water solution. Liberally spray the window glass. This solution allows you to easily adjust the film once it’s on the glass.
Step 5: Apply the Film
Peel the backing from the film, exposing the adhesive side. Spray the adhesive side with the soap solution as you peel. Carefully place the film on the wet window, starting at the top. The soapy water allows you to slide the film into position.
Step 6: Smooth the Film
Using a squeegee or flat tool, smooth the film onto the glass. Begin at the center and work your way outward to remove air bubbles and excess water. Pay special attention to edges and corners.
Step 7: Trim the Edges
Once the film is smoothed out, carefully trim the excess film from the edges with a utility knife. Use a ruler to ensure straight cuts.
Step 8: Final Smoothing
Go over the film one last time with the squeegee to remove any remaining bubbles and ensure it adheres properly.

by Maryam F. (https://unsplash.com/@encoreunemaryam)
Maintaining UV Window Film
After installation, proper maintenance will ensure your window film lasts for years. Avoid cleaning the film for at least 30 days to allow it to cure fully. Afterward, clean it with a mild soap and water solution and a soft cloth to prevent scratches.
Conclusion
UV window film is a versatile addition to any home, offering benefits that are both aesthetic and functional. By following this step-by-step guide, you can provide your clients with a stylish, eco-friendly solution that enhances interior designs and improves energy efficiency.
Whether you’re looking to offer this as a service or simply understand the process for your own projects, mastering UV window film installation is a valuable skill for any interior designer.