Window film installation is an excellent way to enhance your home’s comfort, efficiency, and aesthetics. Whether you are an interior designer looking for cost-effective solutions or a homeowner seeking to improve your living space, window film can offer numerous benefits.
In this comprehensive guide, we will explore everything you need to know about window film installation near you. We’ll cover the benefits, types, installation process, and how to choose the right professional service. Let’s dive in!
Window film is a thin laminate that can be installed on the interior or exterior of glass surfaces in homes, offices, and vehicles. It is typically made from polyester and offers a range of benefits, from reducing glare and UV exposure to enhancing privacy and security. According to the U.S. Department of Energy, window films can significantly improve energy efficiency by reducing heat gain through glass.
Benefits of Window Film
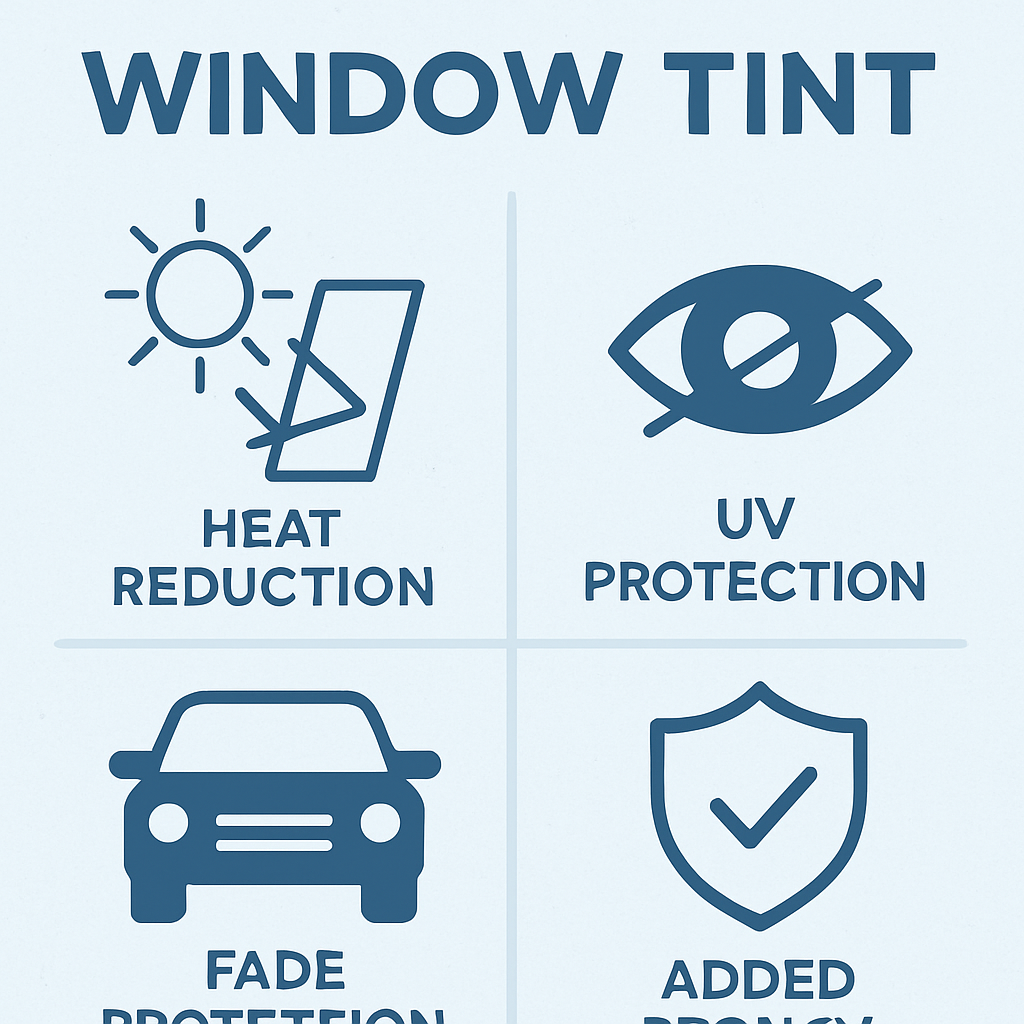
Window film offers several advantages:
- Energy Efficiency: Window films can help reduce energy consumption by blocking heat from the sun, keeping your home cooler in the summer and warmer in the winter. This can lead to significant savings on energy bills.
- UV Protection: It blocks up to 99% of harmful UV rays, protecting your furniture, flooring, and artwork from fading.
- Glare Reduction: Window film reduces glare from the sun, making it more comfortable to watch TV or work on a computer.
- Privacy and Security: Tinted or frosted films provide privacy without compromising natural light. Security films can also hold shattered glass together, adding an extra layer of protection.
- Aesthetic Appeal: Available in various styles and patterns, window films can enhance the look of your home, complementing any interior design.
Types of Window Film
There are several types of window films, each designed to meet specific needs:
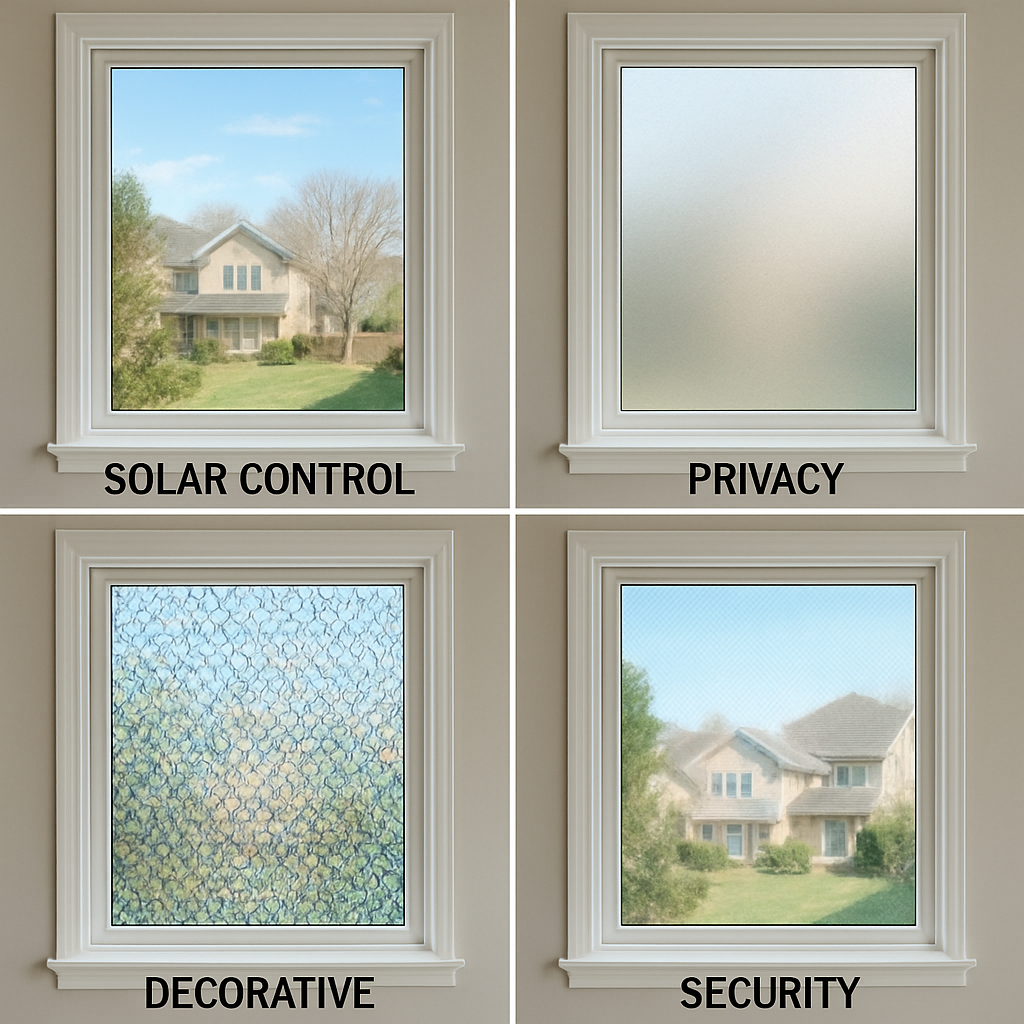
Solar Control Film
Solar control films are designed to reduce heat and glare. They are ideal for rooms that receive a lot of sunlight, helping to maintain a comfortable indoor temperature.
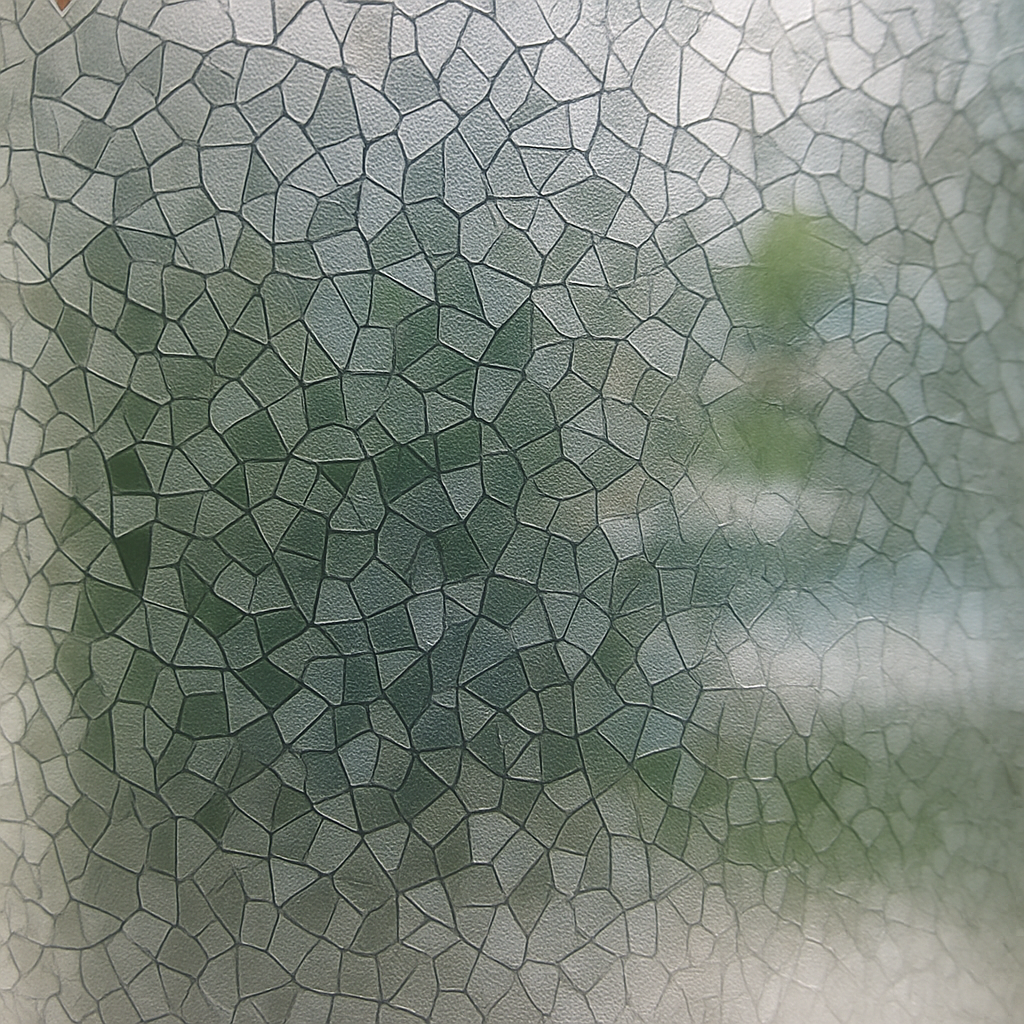
Decorative Film
Decorative films add style and privacy to your windows. They come in various patterns, colors, and textures, allowing you to customize the look of your space.
Security Film
Security films are thicker than regular window films and are designed to hold glass together if it shatters. This can deter break-ins and protect against accidents or natural disasters. Safety glazing standards from the U.S. Consumer Product Safety Commission emphasize the importance of reinforced glass protection for preventing injuries.
Privacy Film
Privacy films are perfect for areas where you want to maintain natural light while ensuring privacy, such as bathrooms or street-facing windows.
The Window Film Installation Process
The installation process for window film is straightforward but requires precision for the best results. Here’s what to expect:
1. Consultation and Selection
The first step is to consult with a professional to discuss your needs and preferences. They will help you select the right type of film based on your goals, whether it’s energy efficiency, privacy, or aesthetic enhancement.
2. Preparation
Before installation, the windows must be thoroughly cleaned to ensure the film adheres properly. Any dirt or debris can cause bubbles or imperfections in the film.
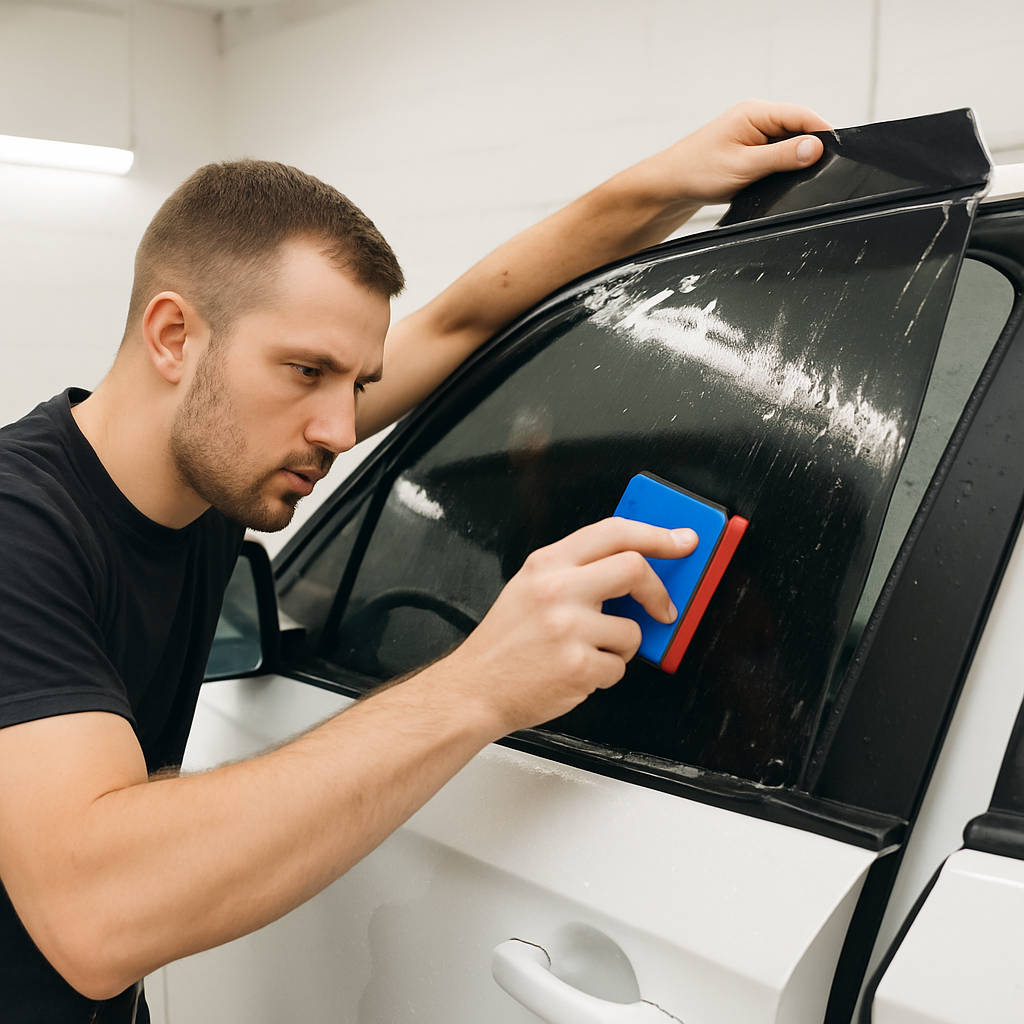
3. Cutting and Application
The film is then cut to the exact size of your windows. Professionals use precise tools to ensure a perfect fit, avoiding any gaps or overlaps.
4. Final Touches
After application, the film is carefully smoothed out to remove any air bubbles. The edges are trimmed, and the film is inspected to ensure a seamless finish.
Choosing the Right Window Film Professional

by Zen Summer (https://unsplash.com/@ispywithmylittleeye)
Selecting a qualified professional for window film installation is crucial to achieving the best results. Here are some tips to guide your choice:
Experience and Reputation
Look for professionals with extensive experience in window film installation. Check reviews and testimonials to gauge their reputation and the quality of their work.
Product Knowledge
A reliable installer should have a deep understanding of different types of window films and their applications. They should be able to recommend the best options for your specific needs.
Warranty and Support
Choose a service provider that offers a warranty on their work and the film itself. This ensures that you are covered in case of defects or installation issues.
Transparent Pricing
Request a detailed estimate before starting the project. A trustworthy professional will provide transparent pricing without hidden fees.
Maximizing the Benefits of Window Film
To make the most of your window film installation, consider these additional tips:
Regular Maintenance
While window films are low maintenance, regular cleaning with a soft cloth and mild detergent will keep them looking their best. Avoid abrasive cleaners that can damage the film.
Combining Solutions
Consider combining window film with other window treatments, such as blinds or curtains, for enhanced privacy and energy efficiency.
Stay Informed
Keep up with new developments in window film technology. Innovations are constantly being made, offering new ways to improve your home’s comfort and efficiency.
Conclusion
Window film installation is a smart investment for any homeowner or interior designer looking to enhance a space’s energy efficiency, privacy, and aesthetic appeal. By understanding the types and benefits of window film, and choosing the right professional for installation, you can transform your windows and enjoy a more comfortable living environment.
Whether you are looking to reduce energy bills, protect your interiors, or simply add a touch of style, window film is a versatile solution that can meet a variety of needs. So, if you’re considering window film installation near you, now is the time to explore this innovative home improvement option.